
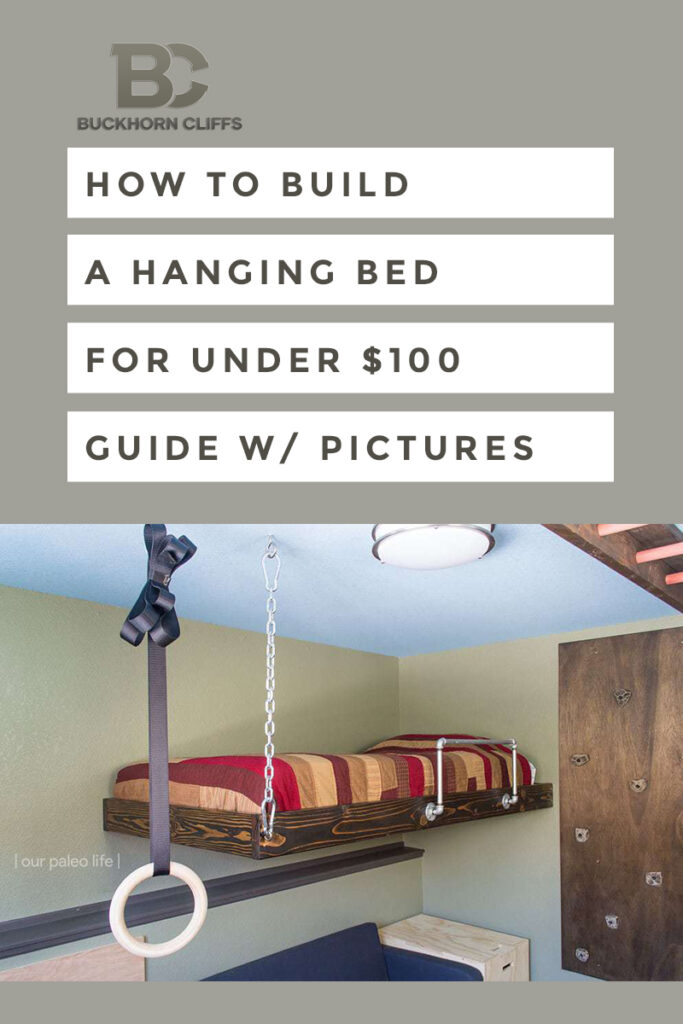
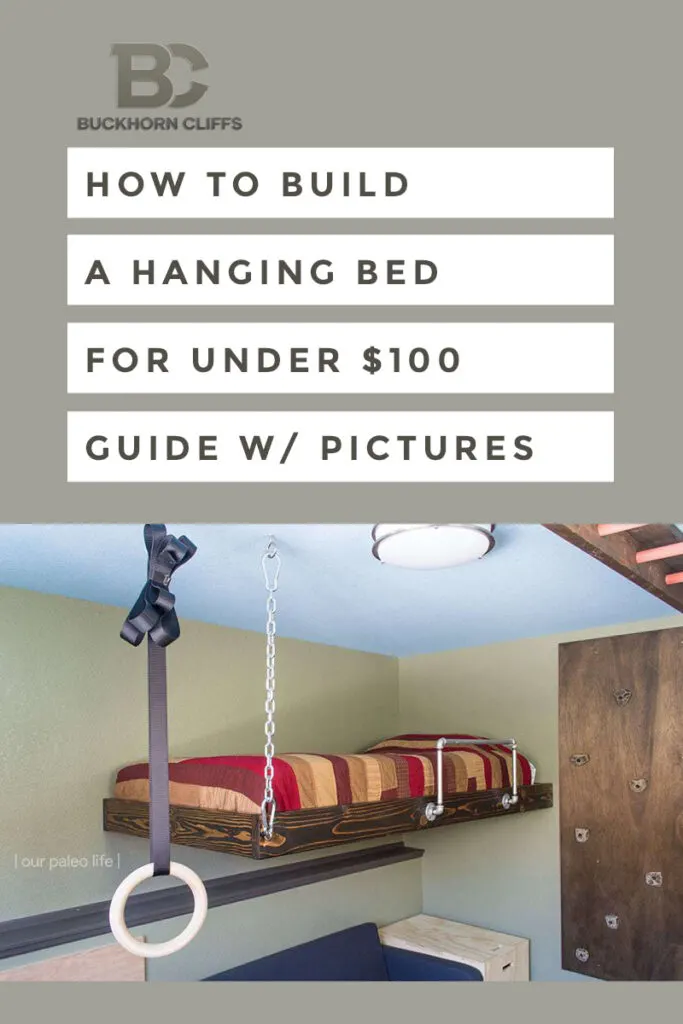
Are you thinking about making a little more room for your bed in a small space? This post on how to build a hanging bed will give you all the details you need to complete the task.
Nowadays, you can find a whole world of design ideas on the internet, from an outdoor hanging bed for some relaxing time, to a rustic deck for your outdoor space.
Maybe you’ve been looking for inspiration for floating bed designs and you’ve come to realize that for a kid’s bed, the hanging bed (suspended bed) is a better bet (save on space).
Finding hanging beds for sale is crazy, they’re expensive. Better option is to build your own!
A hanging bed is easy to build and it can save loads of space in a small room in an affordable way. All you’ll need are a few tools and a trip to the home improvement store.
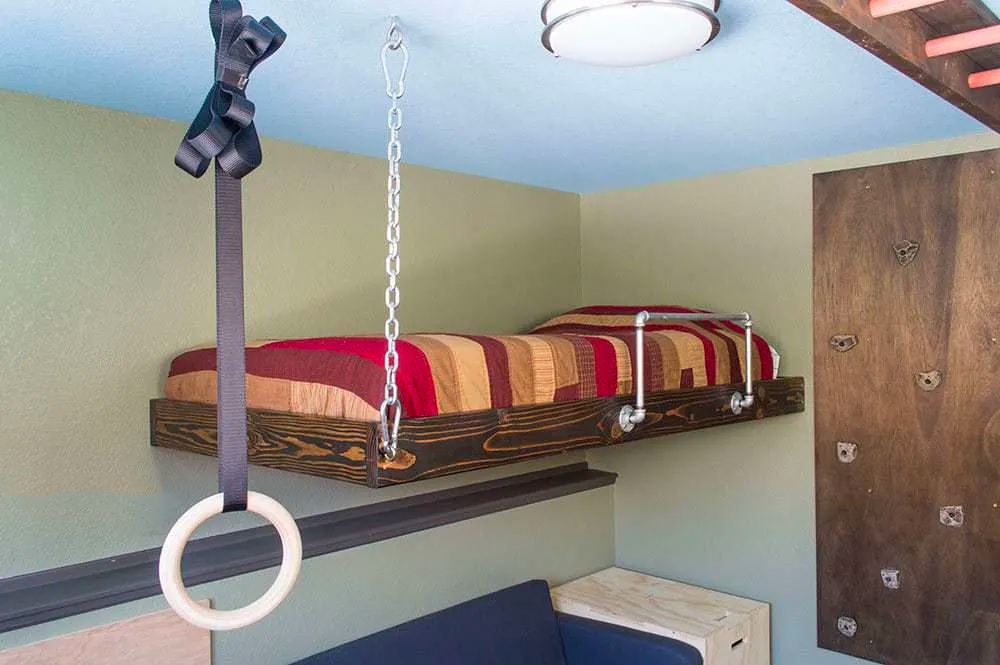
And the best part is: this DIY hanging bed “plan” is really simple and takes just a few hours. This is a Twin XL (mattress) sized bed. This floating bed looks awesome with the right bedding. Some pillows or cushions with patterns can give a great look to small spaces.
DIY Suspended Loft Bed

Materials Needed for Creating a Hanging Bed
Materials for the bed can all be purchased at Lowe’s or Home Depot. Links for materials for the floating bed in this post are for Home Depot. Cost of materials for the bed (not the stain or guardrail) should total less than $100 (as of 2018 when I built this bed).
Cost of Hanging Bed Materials (in 2018) = $95.29
- (8) 1 in. x 4 in. x 8 ft. Premium Kiln-Dried Square Edge Whitewood Common Board $38.24
- (1) 2 in. x 4 in. x 104-5/8 in. Prime Kiln-Dried Whitewood Stud $2.96
- (2) 2 in. x 6 in. x 104-5/8 in. Prime Kiln-Dried SPF Stud $10.08 (thanks to friendly folks in the comments, you’ll need 3 (not 2).)
- (4) 2-3/4 in. 18-Gauge Gusset Angle $3.32
- (16) #8 2-1/2 in. Phillips Bugle-Head Coarse Thread Gold Screws (1 lb.-Pack) (BOX) $6.47
- (8) #10 3-1/2 in. Star Flat-Head Wood Screws (1 lb.-Pack) (BOX) $5.98
- (16) #6 x 1 in. Philips Square Drive Flat-Head Full Thread Zinc Coated (BOX) $1.94
- (2) 7/16 in. x 4-3/4 in. Zinc-Plated Spring Link $7.96
- (2) 3/8 in. x 4-7/8 in. Stainless Steel Screw Eye $6.56
- (25.5 Inches – 19 links) 5/16 in. x 1 ft. Zinc-Plated High Test Chain $6.46
- (8) 1/4 in. x 4 in. Zinc-Plated Hex Lag Screw $3.68
- (2) 5/16 in. x 5-1/2 in. Zinc-Plated Hex Lag Screw – $1.64
Stain and Varnish
Pick a stain that makes sense for the style of the room or the design ideas you have (rustic, for example). We went with Jacobean (dark) the color also accentuates the textures in the wood and gives a nice touch to the swing bed.
Twin XL – DIY Hanging Bed for Kids (Build Steps)
You’re only going to need a few hours to get this floating bed project completed. Here’s the thing… the staining process takes longer than the actual build. Take your time and space with it, it’s worth it to get the finish just right.
Cut Wood to Size
You’ll need to cut the side guard rails, end rails, bed slat supports, bed slats.
- Side Guard Rails 2×6 – Need (2) – 82 1/2 inches (table saw or skill saw)
- End Rails 2X6 – Need (2) 39 1/2 inches (table saw or skill saw)
- Bed Slat Supports Take a 2×4 and cut it length wise in 2 pieces. Length must be 79 1/2 inches. You’ll need a table saw for best results. (table saw)
- Bed Slats 1X4 Whitewood common board. You’ll want 15 slats at 39 1/4 inches. You’ll get (2) slats for each 8ft board you purchase. (table saw or skill saw)
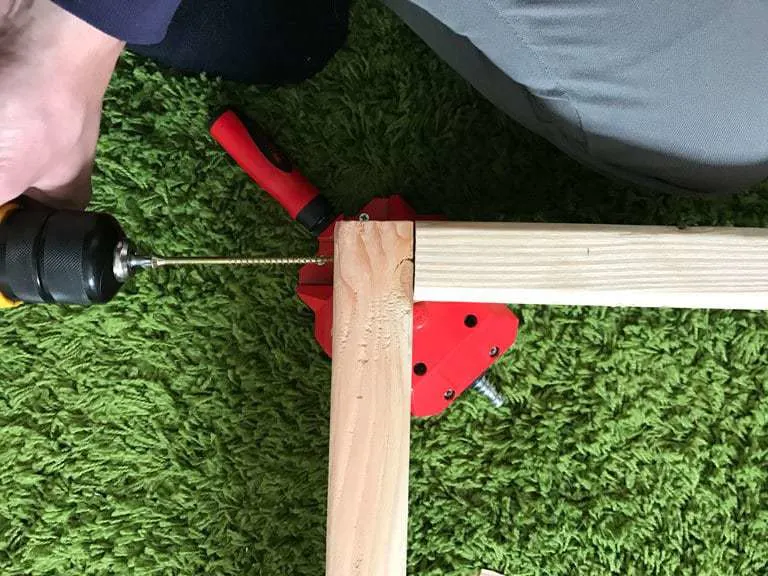
Assemble & Hang Bed Frame
Note: the end rails go inside the side rails. Use the 3 1/2 inch screws (2 in each corner on the guard rail sides).

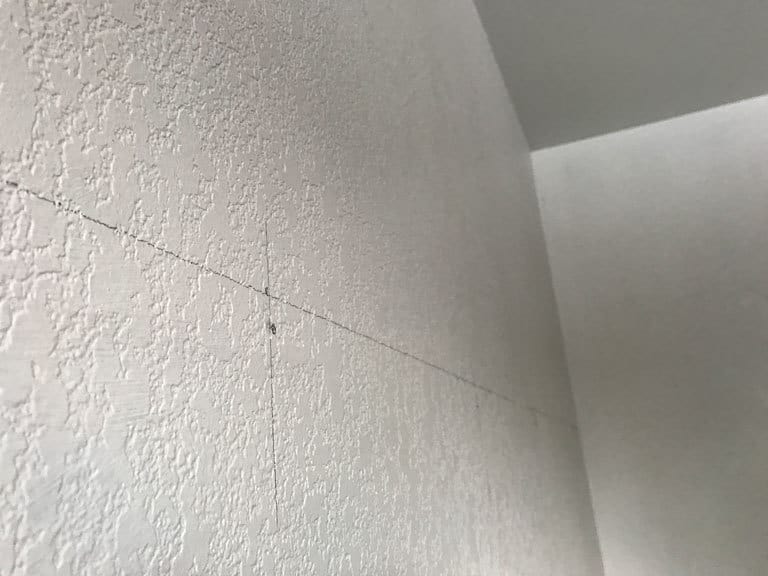
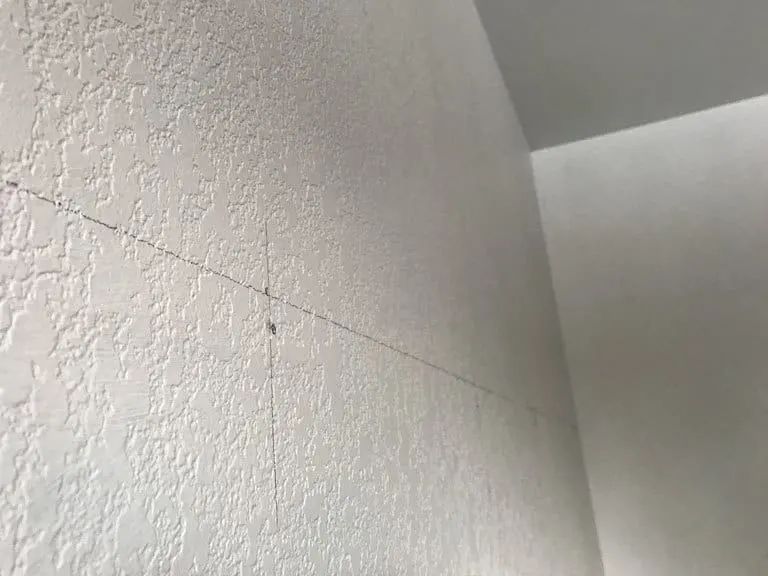
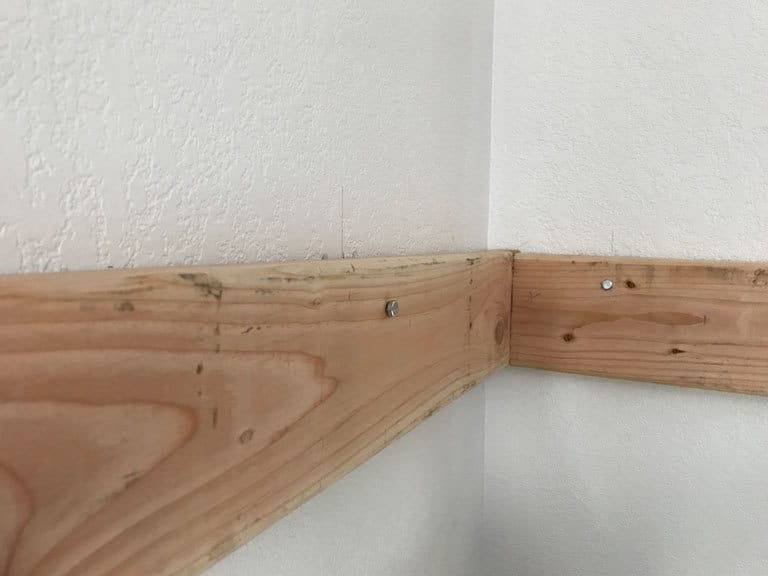
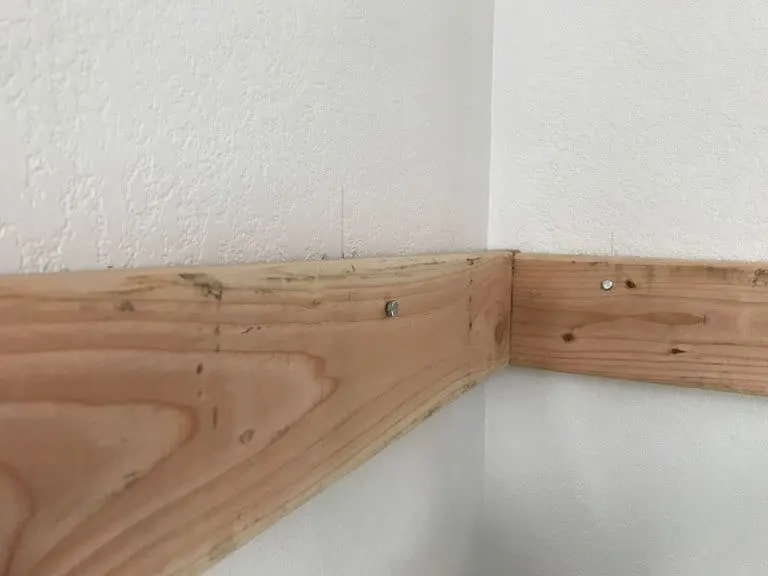
The top of the guard rails will be exactly 33 inches from the ceiling. Mark the stud locations on the wall.
Level and mount the constructed frame with the top of the frame 33 inches from the ceiling. Use a drill bit smaller than the lag screw (bolt) for your pilot hole. Then secure the frame (using one lag screw) to the wall. We didn’t use washers but in retrospect, I would have.
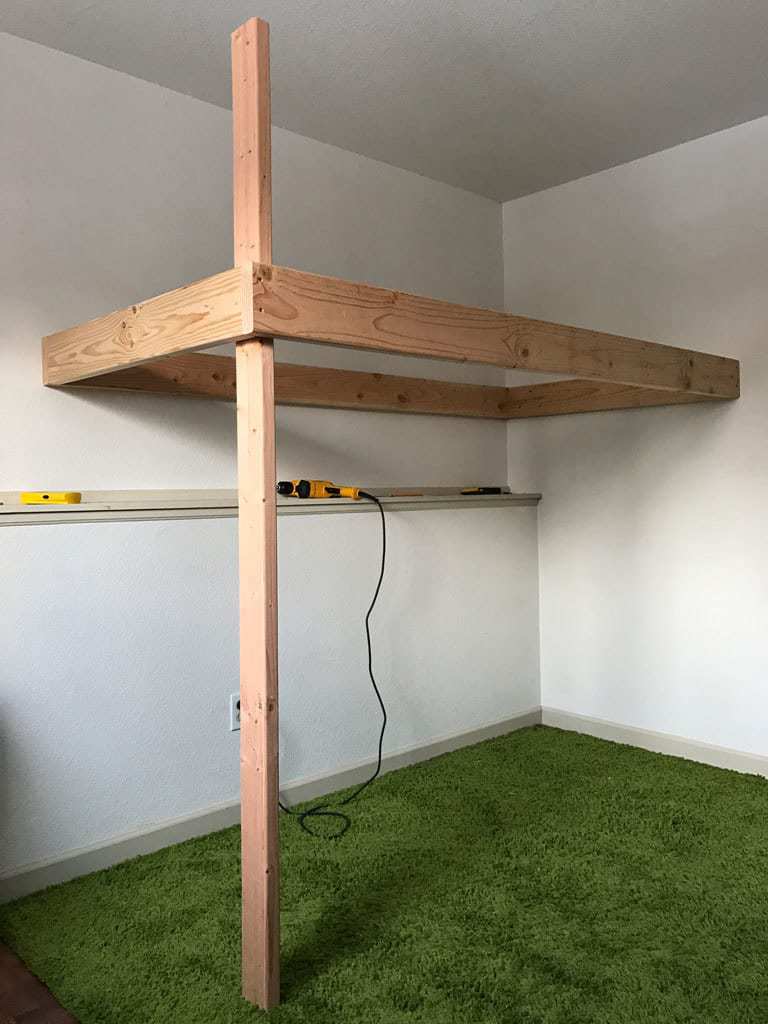
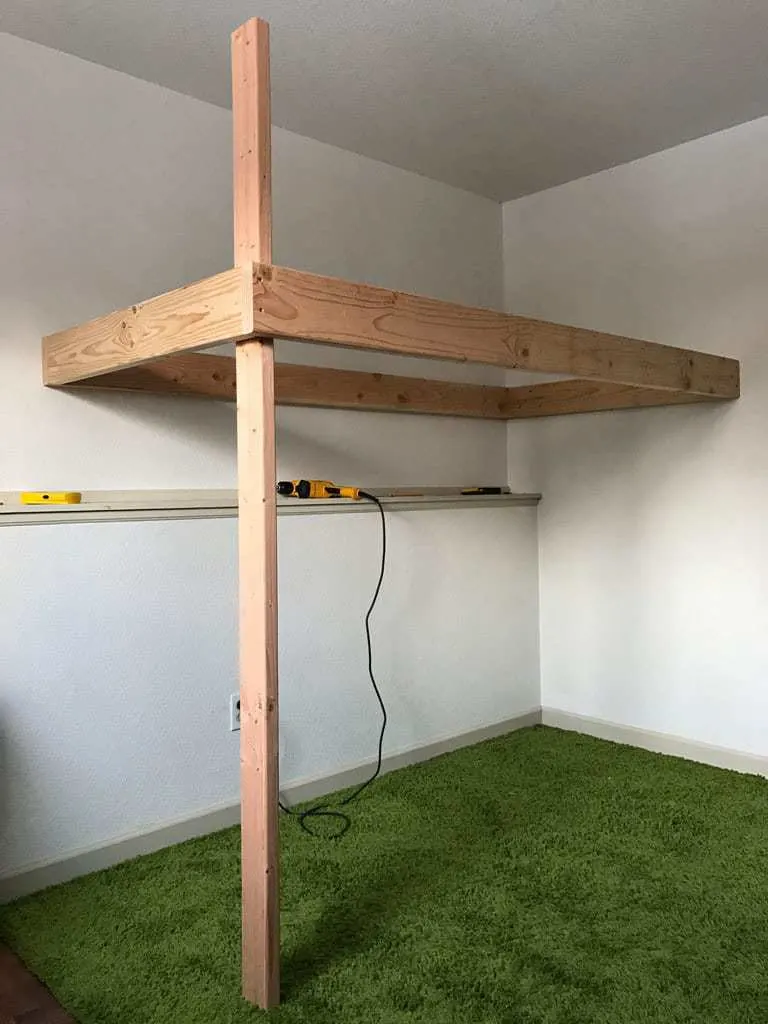
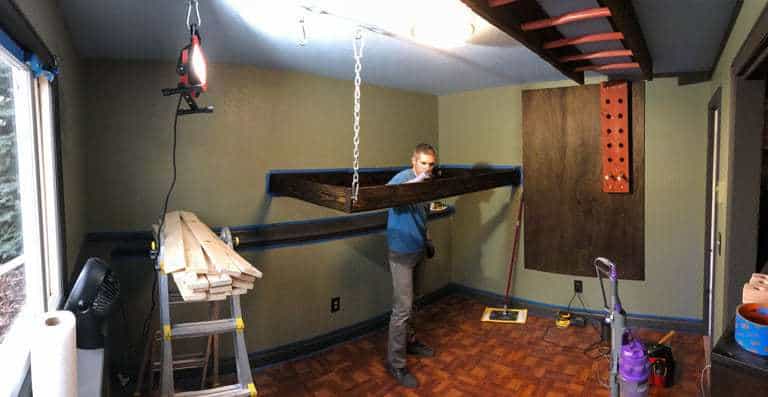
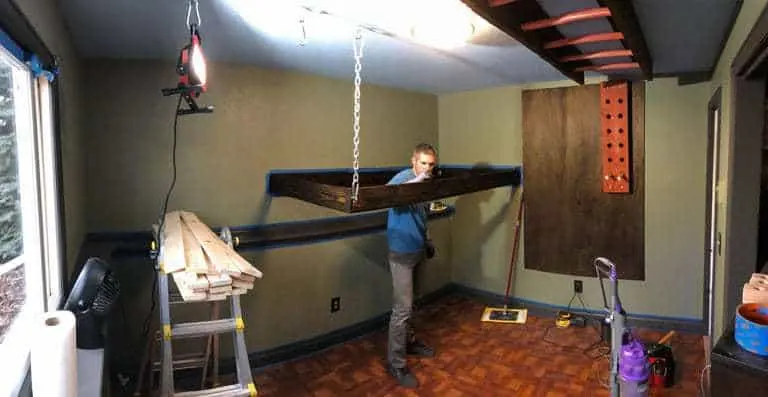
While having someone hold the one end of the frame use a 2X4 (the one you purchased if you’d like / before the cut) to level the bed and to prepare to attach the chain to the ceiling. At this point (now that the bed is level) use the other lag screws to attach the frame to the wall. Attach a lag screw to each stud the frame touches. Add the larger lag screws (double up) to the ends (touching the wall) of the frame. Adding the extra (and larger) lag screw to the ends is just a little extra precaution.
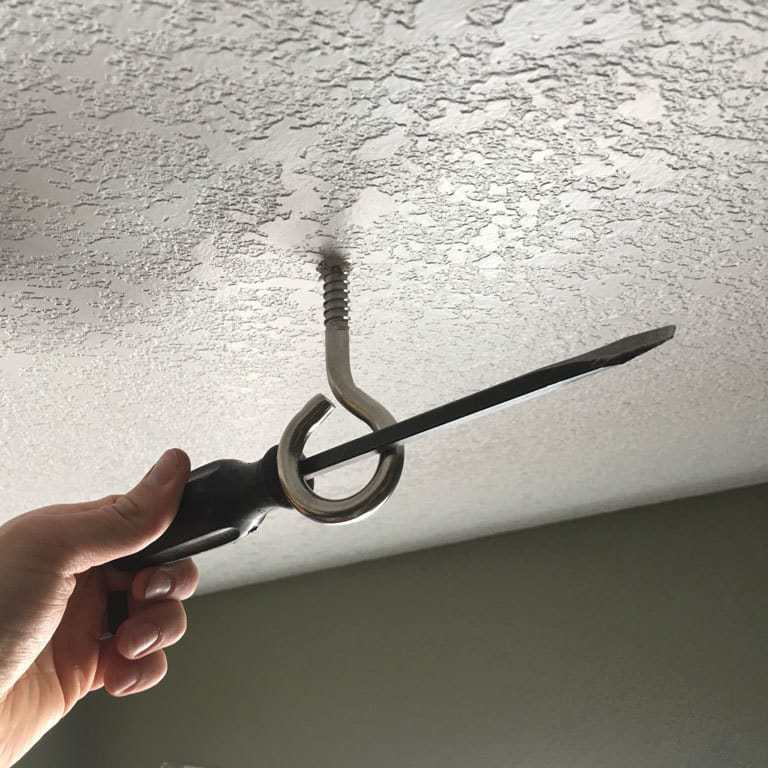
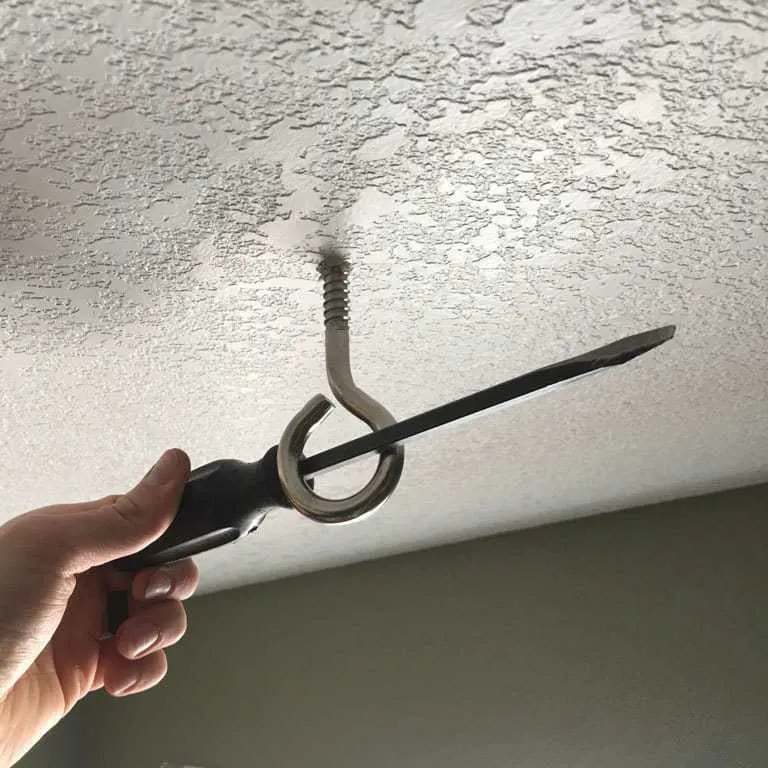
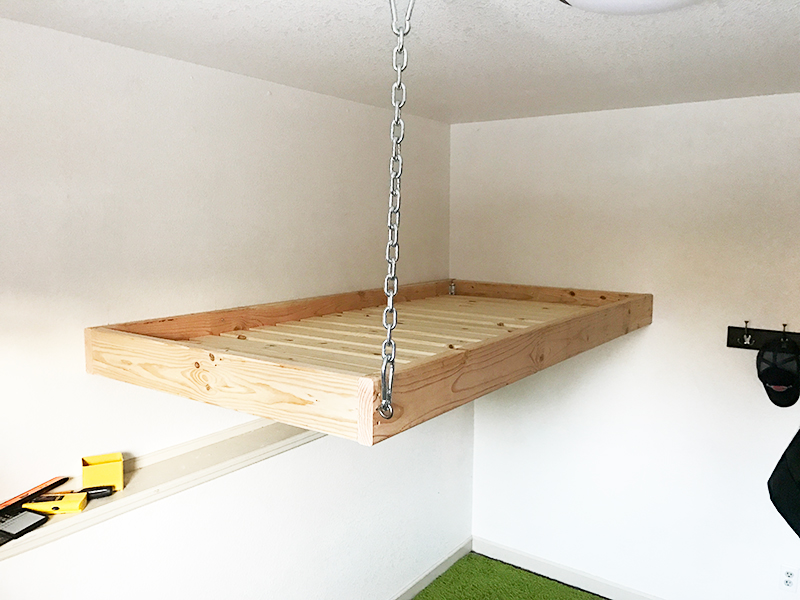
Drill a pilot hole in to the joist (this is a basement room) as close to directly over the corner of the frame. Screw in the the screw eye using a screwdriver (horizontally for leverage).
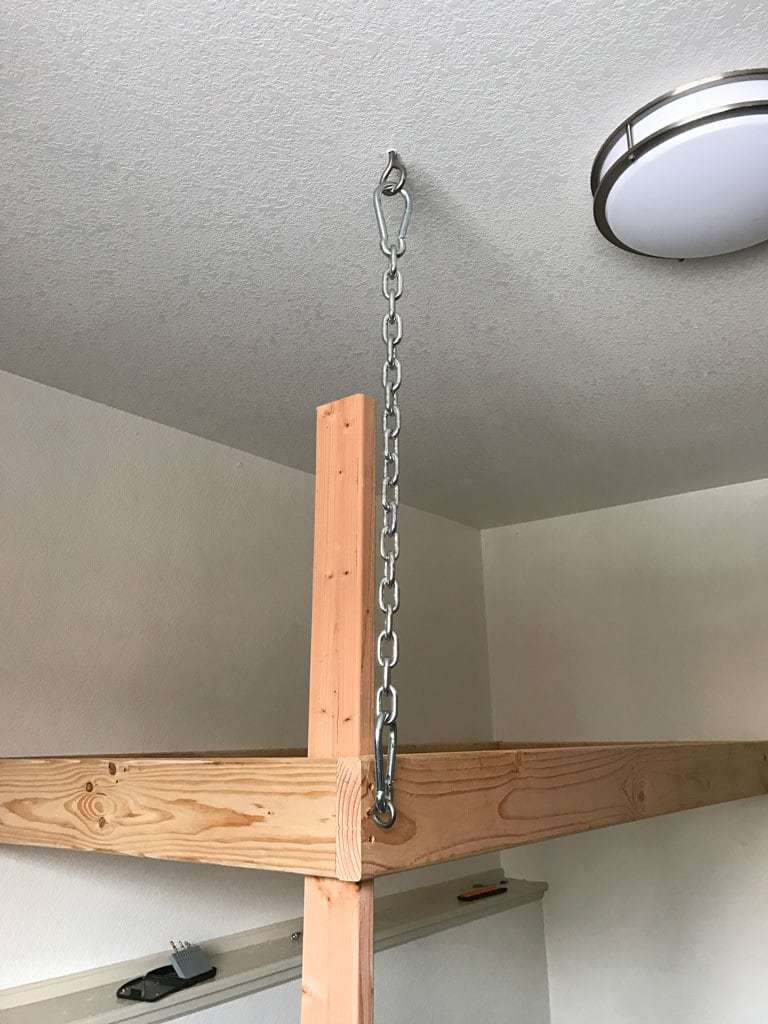
Install the other screw eye in to the side guard rail, close to the edge so the screw enters the end rail as well. We placed the screw eye down 2 1/2 inches from the top of the rail. Connect the spring links to the chain and attach both spring links respectively to the screw eyes.

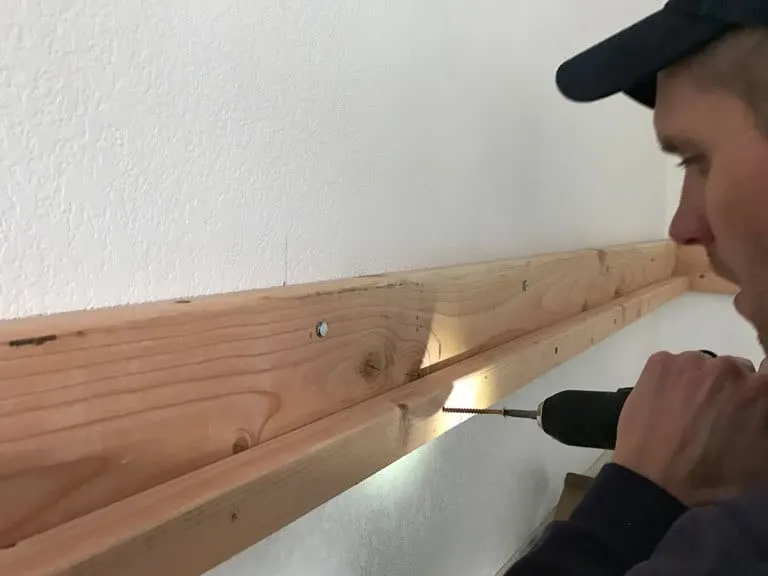
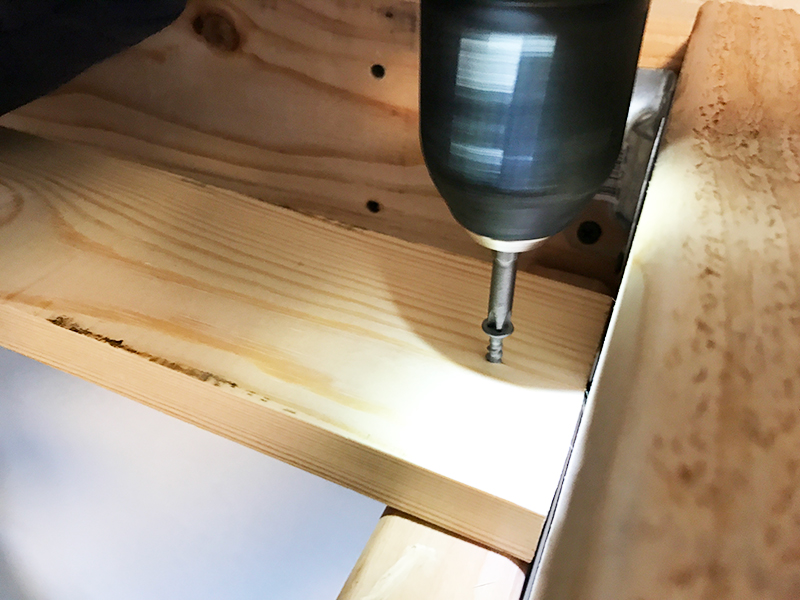
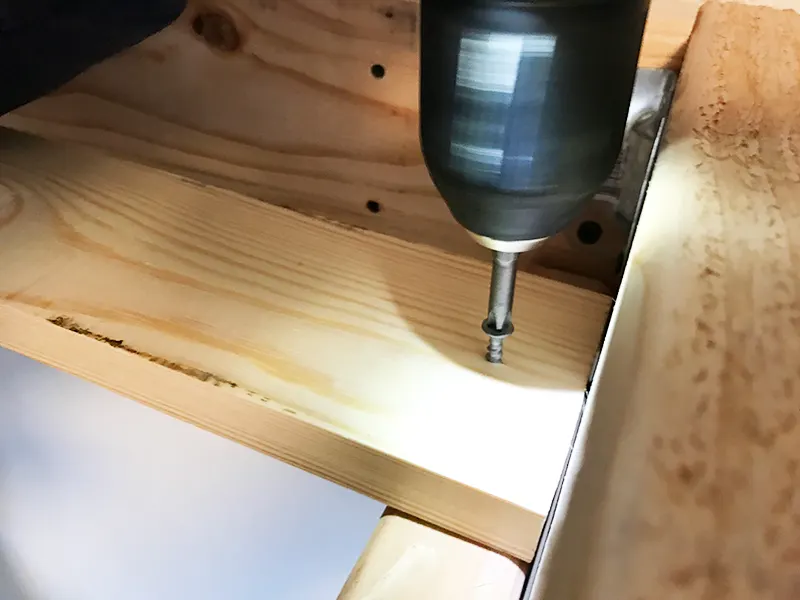
Remove the 2×4 brace you were using to level the bed, cut it (as explained previously) and attach it using the 2 1/2 inch screws. Add one screw every foot.

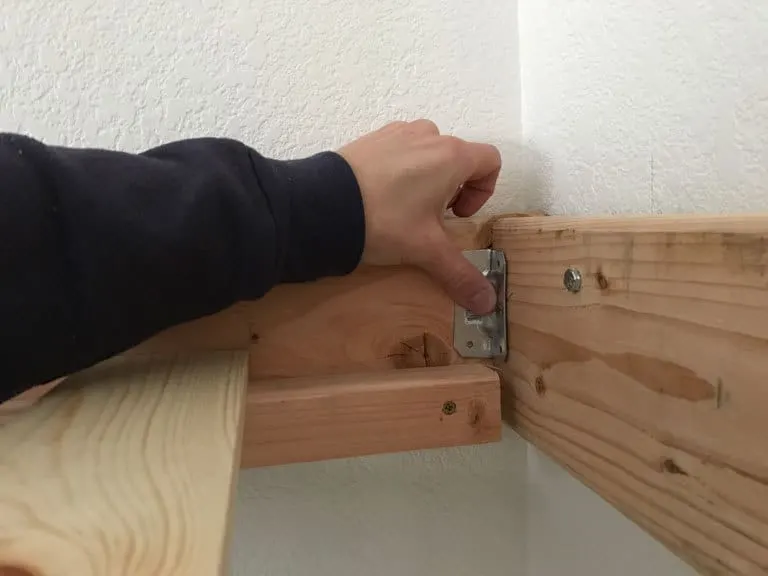
Mount the gusset angle using the 1 inch screws. This is to add a bit more stability to the frame.

Adding the wooded slats onto the bed.
All combined, these slats can support a lot!
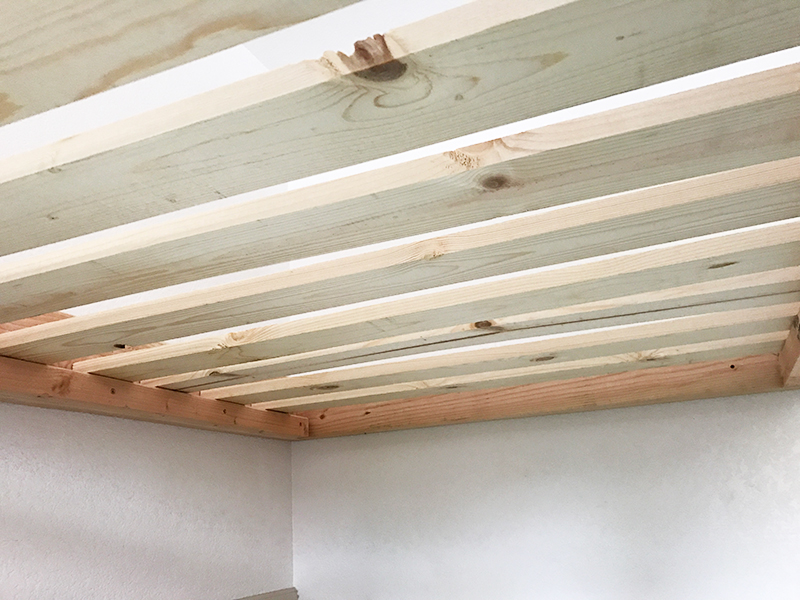
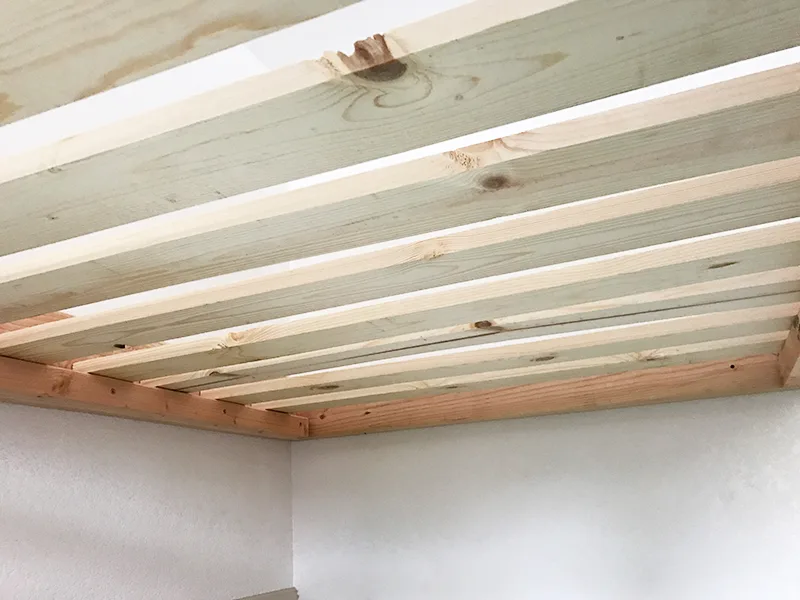
Finished and ready for a mattress… UNLESS you’re planning on staining.

Staining and Prepping the Hanging Bed
Depending on your situation, you can stain the pieces of the swing bed frame before assembling, before attaching to the wall, or after you’ve attached it to the wall.
Finish Preperation
- Sand with an orbital sander.
- Application of paint thiner to clean up and prep for stain with cloth.
- Application of stain using a cloth.
- Application of polyurethane using a foam brush.
- Very fine steel wool to work out any imperfections and prepare for second coat of polyurethane.
- Application of the second coat of polyurethane.
- Very fine steel wool application to finalize the look and feel of the bed frame.
Buy rubber gloves (that stain sticks around if you don’t).
Pin: How to Build a Hanging Bed now:
Doradca Nieruchomości
Wednesday 14th of February 2024
I always learn something new from your posts. This one was particularly enlightening.
Melanie Cruz
Thursday 2nd of November 2023
Hi. Would you be able to tell me what the maximum weight limit this floating bed can hold? Please advise. Thank you so much.
Rob Benson
Sunday 5th of November 2023
I don't really have a way to test that but we've gotten our whole family up in just to test and it didn't crack or have any sounds like it was a problem. I dunno... I couldn't tell ya specifically.
Darra
Saturday 5th of November 2022
Thank you for the great instructions. How tall are your ceilings? How much headspace did you allow from floor to the bottom of the bedframe?
Rob Benson
Saturday 5th of November 2022
On this particular build I focused on the headspace in the bed: "The top of the guard rails will be exactly 33 inches from the ceiling." - I'll be adding another build to this page soon that shows what we did at our new home (we built it again in the basement room). When we add the additional build I'll indicate the distance from the floor to the bottom of the bed.
Mary
Sunday 19th of June 2022
This is extremely helpful!!! I was able to quickly and easily build this for my teenage grandson.
Rob Benson
Sunday 19th of June 2022
That's great to hear, thanks!
Mary Finnegan
Wednesday 16th of February 2022
Wonderful project! One picture is worth a thousand words. Great photos, showed exactly how. Hardware list was very helpful too! Thank you for a great DIY demo!