
You know what everyone loves? Milk and cereal. You know what’s not so good for everyone? Milk and cereal. Quite a conundrum, right? Once we went paleo, cereal was erased from the menu. Milk was easier, since there are so many non-dairy milk substitutes. Almond and coconut milks are the regulars in our house, as they’re fairly easy to find and don’t cost an arm and a leg.
However, you have to be cautious when choosing what non-dairy milks you buy. There are plenty out there that have some less-than-desirable chemicals in them, including preservatives and carrageenan. Carra-what-an? Yeah, that’s what I said the first time I heard of it too. Carrageenan is extracted from seaweed and is used as a thickening agent in many foods, most commonly in dairy products. This is what gives the store-bought milks (dairy and non-dairy alike) their “creamy” texture. It makes the milks, yogurts, ice cream, etc, more palatable and pleasing. So far, none of that sounds to bad. Comes from a natural source and makes my food feel better. What’s so terrible about that?
The Cornucopia Institute has recently done a study on carrageenan and the effects on the human body and it’s not so pretty. Dr. Tobacman explained that carrageenan creates dangerous inflammation, which can lead to more than 100 human diseases, including inflammatory bowel disease, rheumatoid arthritis, and arteriosclerosis. Inflammation also fuels other life-threatening diseases, including cancer. That said, there are plenty of brands that do NOT use carrageenan in their products, and you can find an extremely extensive list of those products here.
But sometimes, I just want to make my own milks. Almond milk is definitely more time-intensive than just buying it, but it’s really not that big of a deal. If you have the right tools, the process is much easier. If you have a high-powered blender (I love our Blendtec), then you are good to go. I can’t vouch for how easy this is to make in a regular blender, but I’m willing to bet there’s just not enough horsepower to pulverize the almonds enough.
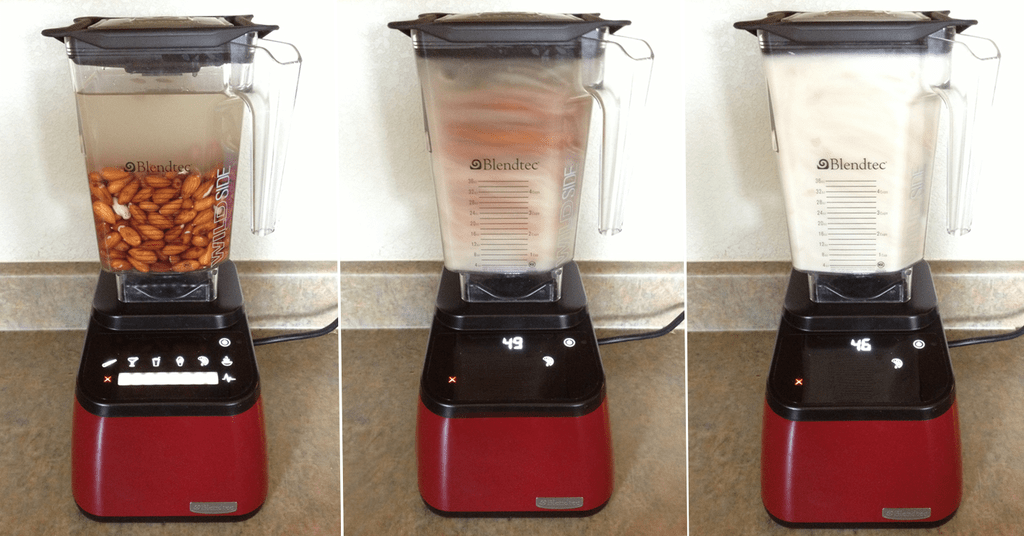

Let me tell you a little story about my Blendtec. In hindsight, it’s pretty hilarious. At the time, not so much. Let me preface this by saying that I’ve made almond milk many times before. I mean, I’m not new to this, I know what I’m doing. I have always doubled the standard quantities found in many recipes, because I’ve got the Wildside jar on my Blendtec, and it can accomadate a larger capacity. So I thought “Why not triple it? More milk, less effort. Win win.”. People, that is not the case. Seriously, do not do what I did. If you follow the recipe as written below, you’ll be fine in the Wildside jar. If you increase the almonds to 3 cups and the water to 6 cups (like I did), you are headed for certain disaster.
Seconds after the last picture was taken above, the top of the Blendtec flew off, spewing chopped up almonds and water everywhere! The blender shut itself automatically (thank goodness) to reduce any further disaster, and I was just standing there in shock. The counter, cabinets, utensil caddy, blender, my phone, me, all covered in choppy almond water. Seconds later, the kids come in the front door, see what’s happened and call no less than 5 of the neighborhood kids to come see what I’ve done. Insult to injury people. And the worst part of all of this? I didn’t get any pictures. Not even one. I think I was more disappointed in that. So, the moral of the story, don’t overfill your blender. See all that water in the picture, don’t do that. If you do, put your hand on the lid, for crying out loud.
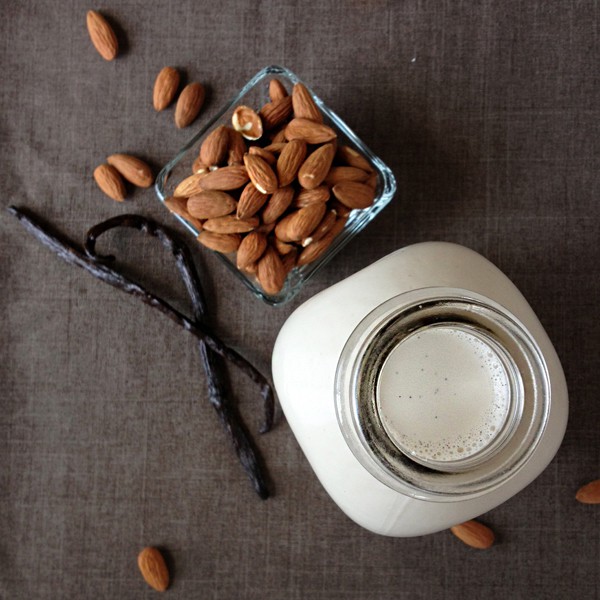

Ok, on to yummy, homemade almond milk. I know there are lots of recipes for almond milk out there. Lots have additions and yummy looking flavors. I prefer a simple sweetened vanilla almond milk. I really only use it in smoothies and on paleo cereal. Ooh, see that, I’m teasing you. I told you cereal was bad, but now you’re curious. Don’t worry, I’ll probably be posting that in the next day or so. It will be worth the minimal wait, I promise.

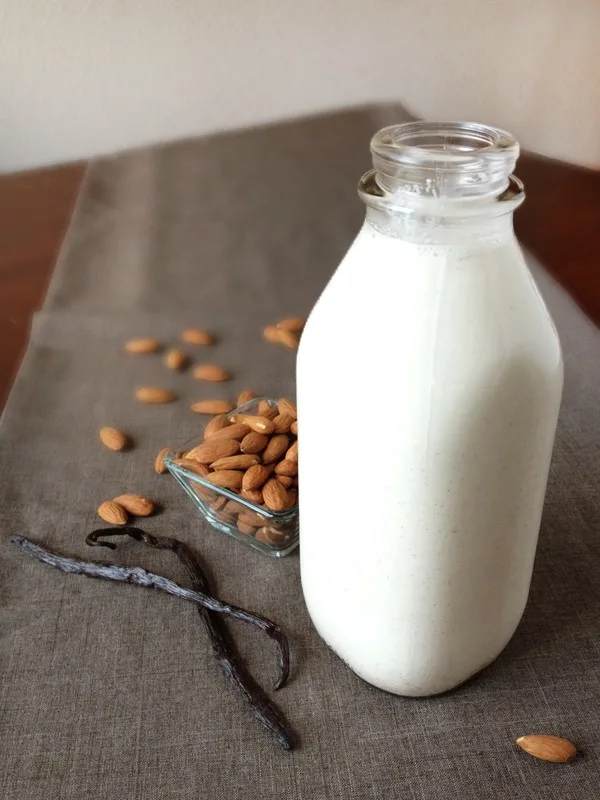
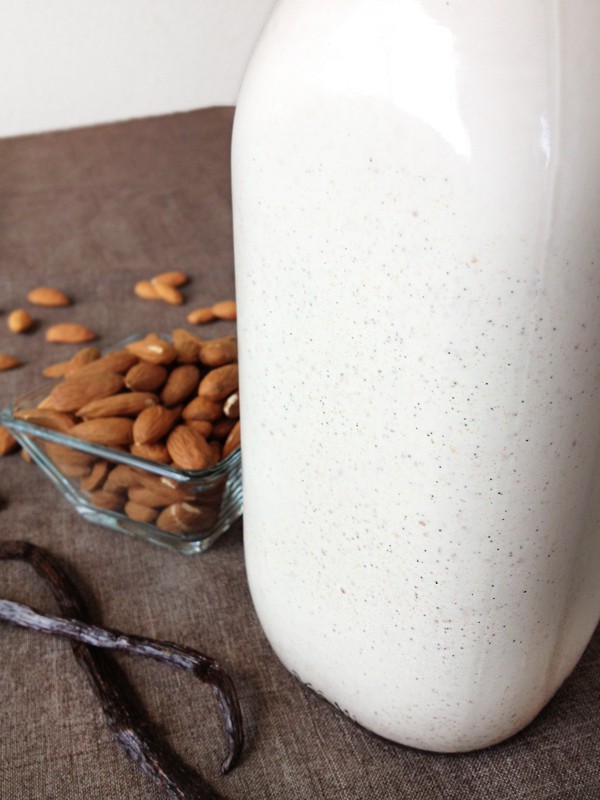
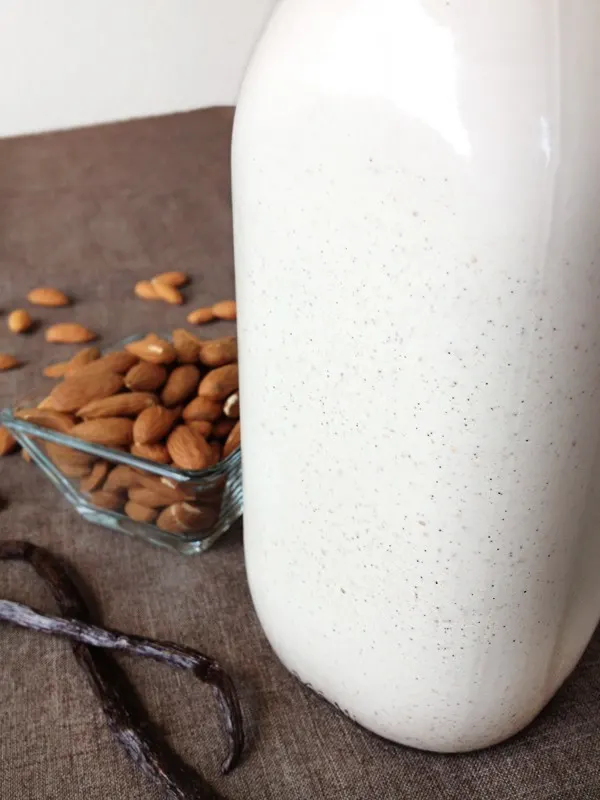
Look at all those delicious little vanilla bean seeds just waiting for you to drink them up. But you know what, since this delicious homemade version of almond milk doesn’t have any nasty carrageenan in it, you’re gonna have to give it a shake before you drink it, otherwise all those pretty little vanilla seeds will float all the way to the bottom, crying because they feel neglected.
Almond Milk
Ingredients
- 2 cups Raw Almonds, soaked overnight
- 4 cups Water, preferably filtered
- 2 Medjool Dates, pitted (leave out for keto)
- 1 Vanilla Bean, seeds scraped, or 1 tsp pure vanilla extract
Instructions
- Soak the almonds overnight, replacing the water once or twice, depending on how nasty it gets. Drain the soaked almonds and give them a quick rinse.
- Add the rinsed almonds to a high-powered blender, like a Blendtec. Add the 4 cups of water.
- Blend on high for about a minute. If you're using a Blendtec, run the "Whole Juice" cycle.
- Pour the almond milk mixture into a large pitcher or bowl lined with a doubled cheesecloth or a nut milk bag (I prefer the latter). Let sit for 30 minutes for the milk to strain out. After that, wring as much milk as you can out of the pulp. Reserve the pulp for another use (can be dehydrated and frozen for later use as almond meal).
- Pour the strained almond milk back in the blender and add the 2 dates and scraped vanilla seeds. Blend using the same setting and time as you used the first time. No need to strain this mixture again.
- Pour into a glass container. Makes approximately 4 - 4-1/2 cups. Keep refrigerated for up to 2 weeks.
Notes
- Leave out the dates to bring the carb count down to 3g net carbs (perfect for keto).
Nutrition Information
Yield 8 Serving Size 1 cupAmount Per Serving Calories 223Total Fat 17gSaturated Fat 1gUnsaturated Fat 0gSodium 6mgCarbohydrates 12gFiber 4gSugar 5gProtein 7g
Deb
Wednesday 6th of January 2016
Do you soak the almonds in water in the fridge or just sitting out on counter?
Kendra Benson
Saturday 16th of January 2016
Just on the counter, I've never had any problems.
Krysstah
Monday 14th of July 2014
I just made this and it turned out great! I have a regular four-sided BlendTec and I kept my hand on the lid since it was fairly full. It started to foam out the top a bit, but that's all. I filled a quart jar to the brim and had enough left for a little sample. I noticed the BlendTec site recipe calls for only 1 c almonds and 4 c water. If I'm remembering correctly when I made that recipe it was not as flavorful as this one. I did not add the sweeteners to this batch, but might try it next time. Thanks!
Rachel
Sunday 29th of June 2014
Can I use vanilla extract instead of the vanilla bean? If so, what measurement do you recommend?
Kendra
Monday 30th of June 2014
Hi Rachel. I haven't made it with extract instead of beans, so I can't say for sure. I would start with 1 tsp, and if you want a more pronounced vanilla flavor after tasting it, add a little more.
Rachael Drumm
Thursday 3rd of April 2014
I have read that the skins are bad and should be removed from the almonds before processing..but we eat almonds with the skin on..o.O Is there a when to/or not too use almonds with skins for the milk?
Kendra
Thursday 3rd of April 2014
If you soak the almonds, it will remove all the bad stuff that you don't want to consume. You can leave the skins on if you soak them. If you don't soak them, you should blanch them instead (briefly boil, then submerge in icy water, then the skins will slide off). As far as which method to use, it's personal preference. Blanching results in spotless, white milk, as there are no skins altering the color.
Karissa Oliver
Wednesday 18th of September 2013
I can't wait until I can get a Blendtek. I'm using a Ninja right now and only yielding 3 cups. Luckily the milk is just a bonus for me, since the almond meal is what I'm after. Thank you for posting this!