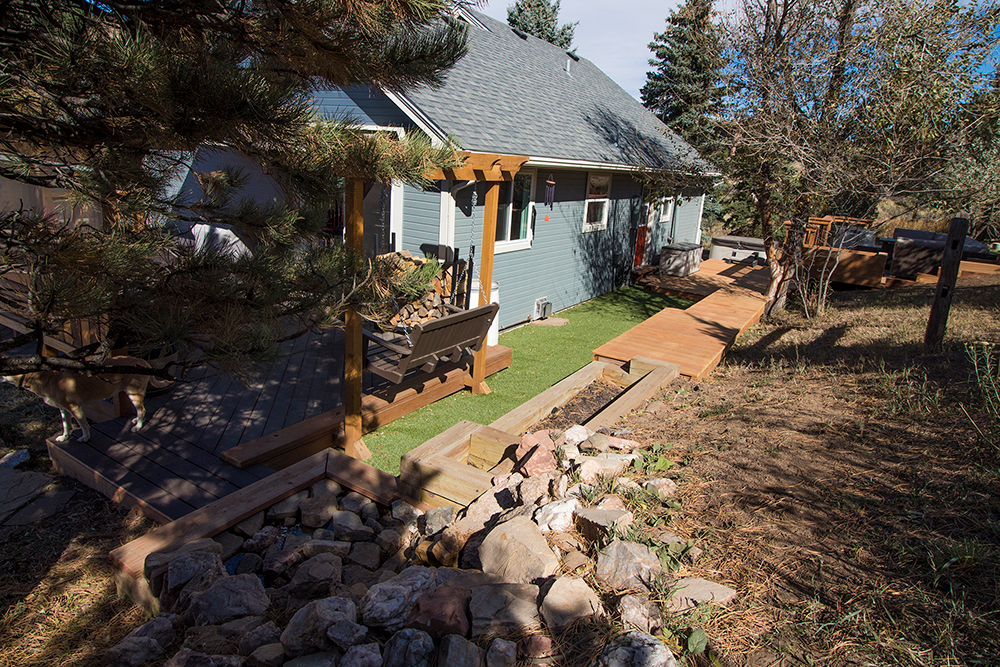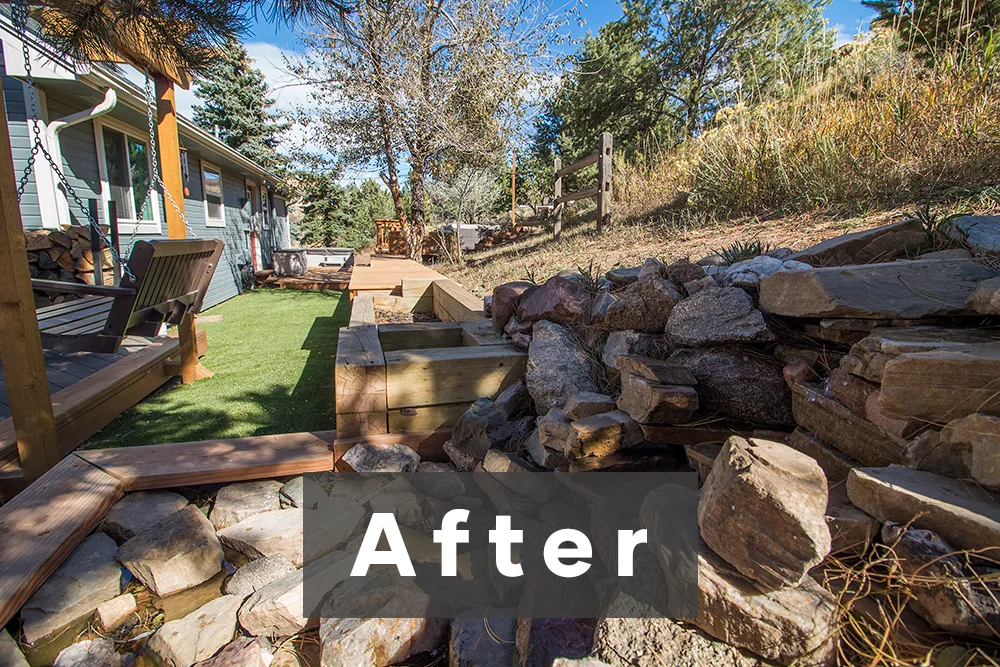
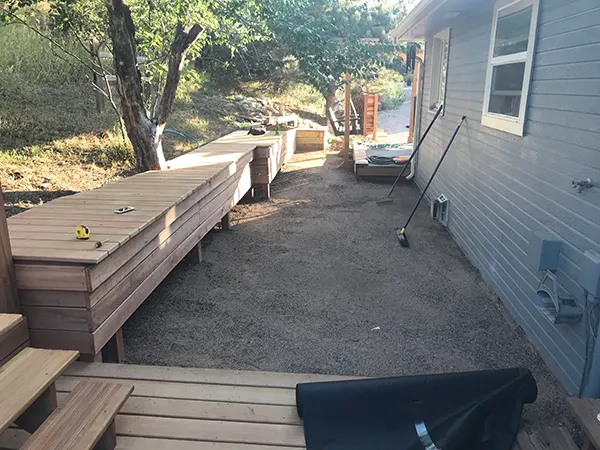
One of the last big projects at this house was the back living area. It took me awhile to visualize what I wanted… when I had, it didn’t take much time to put it all together. However, it took me awhile to figure out what kind of base I wanted in the areas that weren’t going to be deck. After lamenting the fact that artificial turf was expensive we ordered it.
Artificial Grass Installation Prep
Here are a few things to consider:
- The cost will likely be more expensive than you first thought.
- You’re going to be purchasing more than you need (unless you have a perfectly sized spot).
- You need to spend most of your time prepping the ground.
- It’ll be easier if you have a large area where you can measure and cut your piece(s).


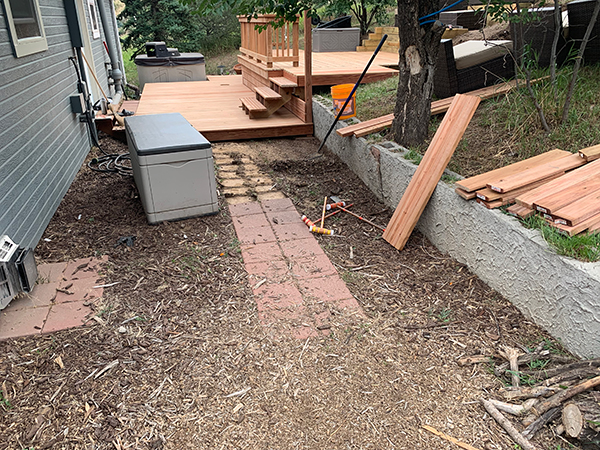
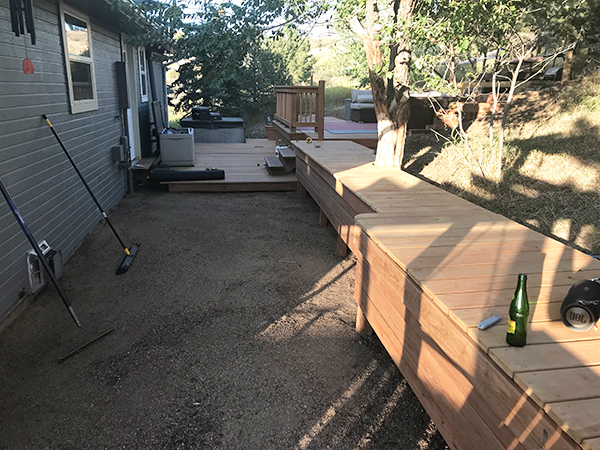
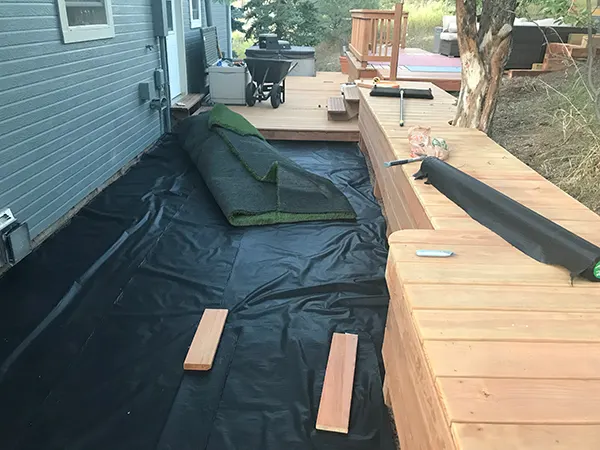
Prepping the area will be the most important aspect of the project. You want to create flat ground with good drainage. Take your time removing debris.


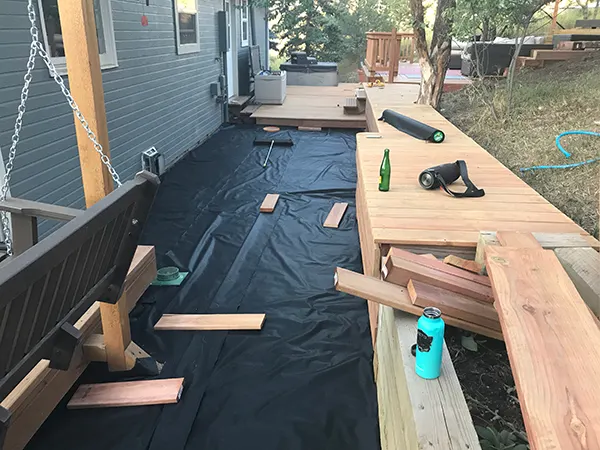
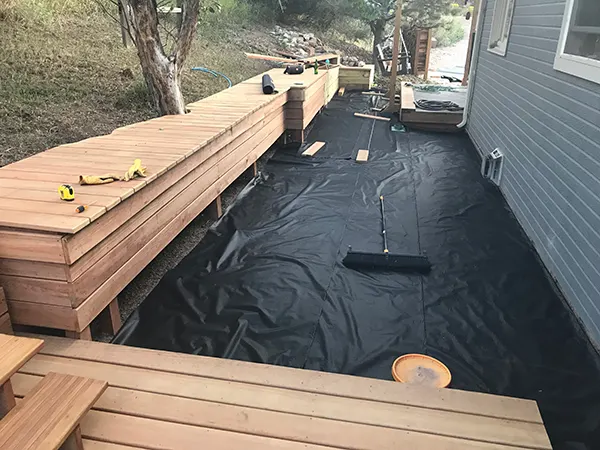
Preparing the Ground for Fake Grass
In addition to being flat, above the soil you’ll want:
- Pull up ALL roots you’re able to. Go as deep as you feel is good enough.
- Drainage Rock (right above the surface of the soil)
- Sand or (fine road base or decomposed granite)
- Weed barrier (I did this but I don’t think it’s necessary – the backing of the turf is thick and there’s no weeds penetrating it.)
- Infill after the artificial grass is laid – PRO TIP: just use sand. The infill is stupid expensive.


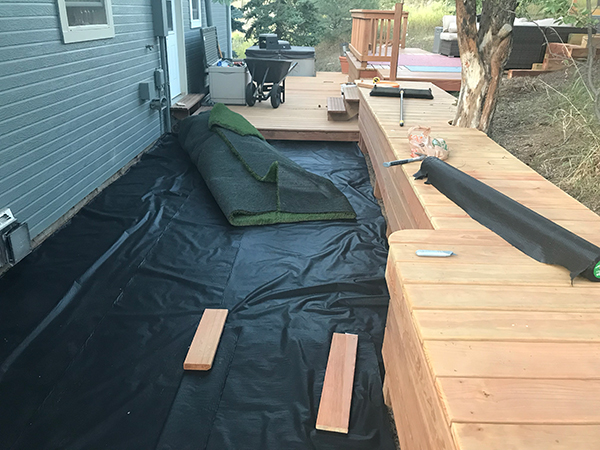
If you’re not able to lay one large section when you add the pieces of turf ensure the blades or grain are all facing the same direction. You’ll need to install the grass in position and then tighten as best as you’re able to. This can be accomplished by nailing in your first spot and then following a line on the edge and spacing the nails about 8 inches apart. Pull the grass across the area and eliminate any “waves”.
I used 9 inch nails, thanks Trent Reznor.
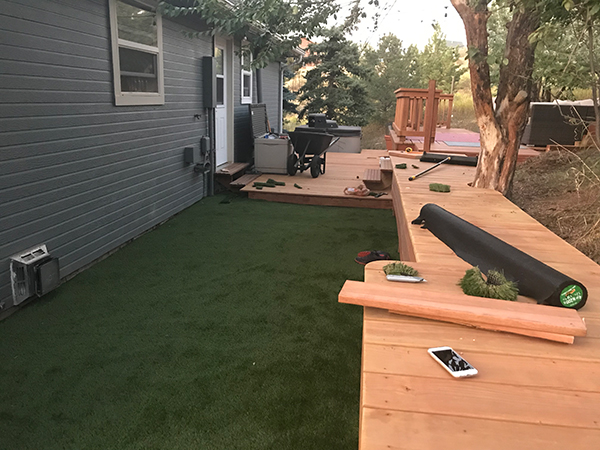


Too bad I didn’t get more pictures of the install process. If you have questions, ask in the comments.
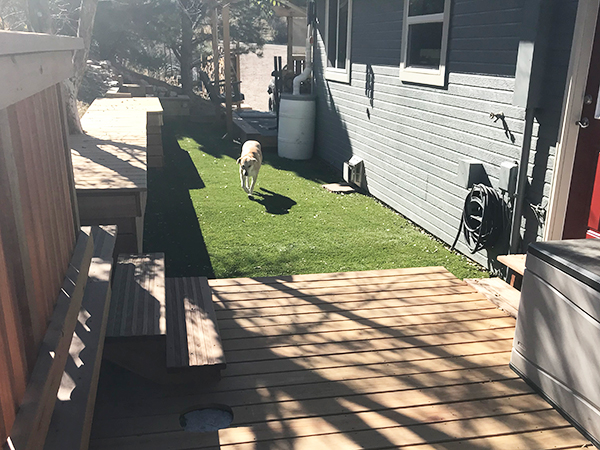
The project turned out great and I’d highly recommend getting artificial turf if you have the budget. It looks clean and green… what more could you want?