
We’ve since moved from this home and built a new chicken coop (in a barn), details coming soon! – July 2020

Here’s the thing about building a chicken coop, it can get expensive. If you can find free (or really cheap) wood, get it! Use this post of these chicken coop pics as your inspiration.
We built this Chicken coop in about a week back in 2015. I knew what I wanted but dang, I took what felt like 100 trips to the Home Depot. If you think you’ve got everything, you probably don’t.
Find a Location
Living in the foothills (especially where we’re at) can mean that you’ve got to clear a slope to get started. You’re going to want flat ground. I didn’t get a picture before this one (of the tree and rocks) but at least here, you can see the cut up limbs to clear the spot.


Level the ground.


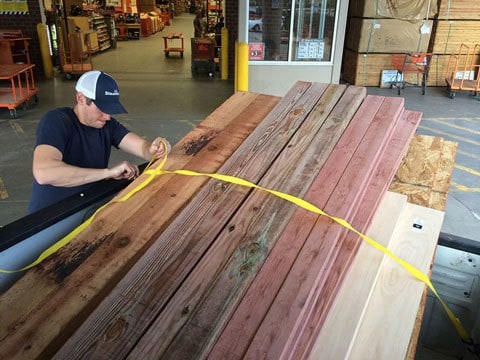
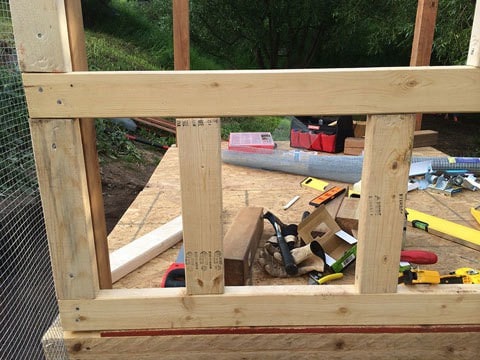
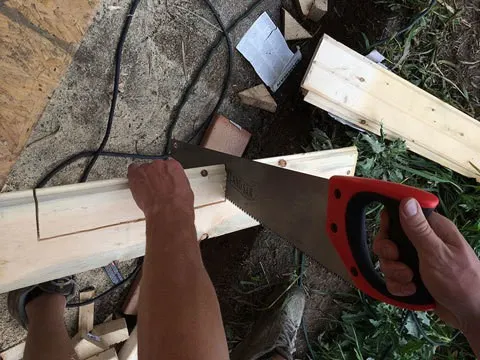
Multiple Home Depot Runs
This was the first of many trips to Home Depot to pick up all the pieces (seeing how we didn’t have any plans, this was a go for it as I see it in my head build).

Initial Build (the post project)
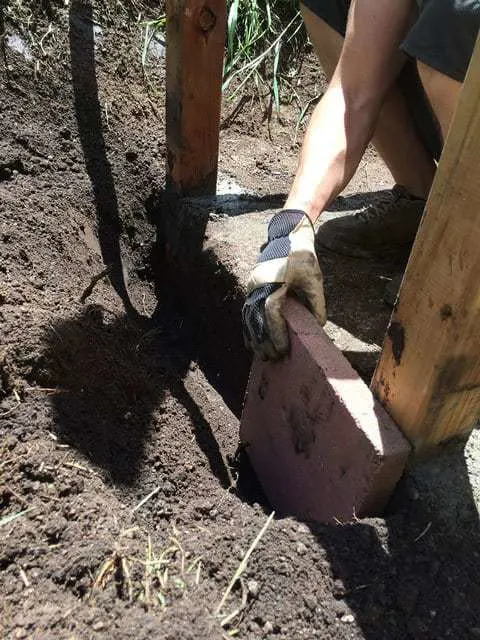
This unconventional framing method requires 2×4’s to level out the 4X4 treated posts in concrete.
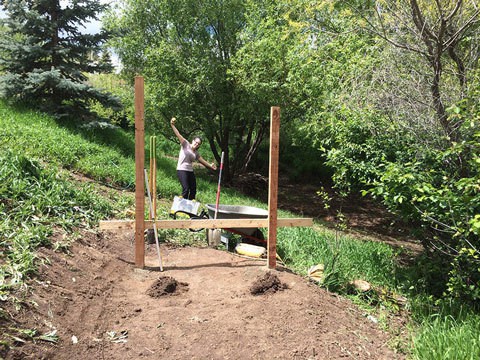

Easy concrete mix (the 4×4 treated lumbar is 28 inches deep). Dig the hole, throw some rocks at the bottom, set the 4×4 in place, level it, mix concrete and pour, further level with the 2×4 and the second post, then third… and fourth.
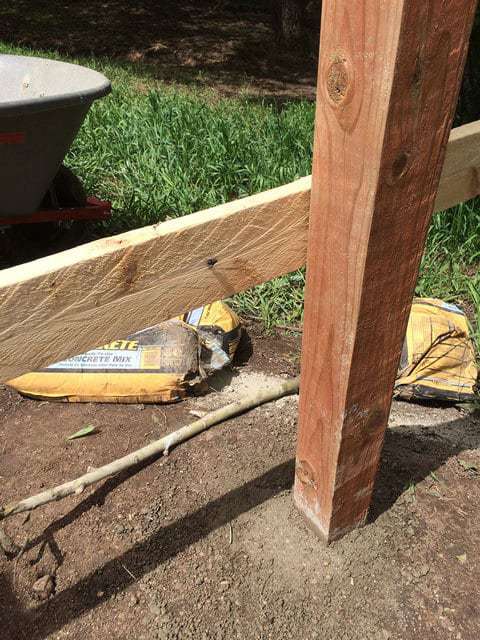
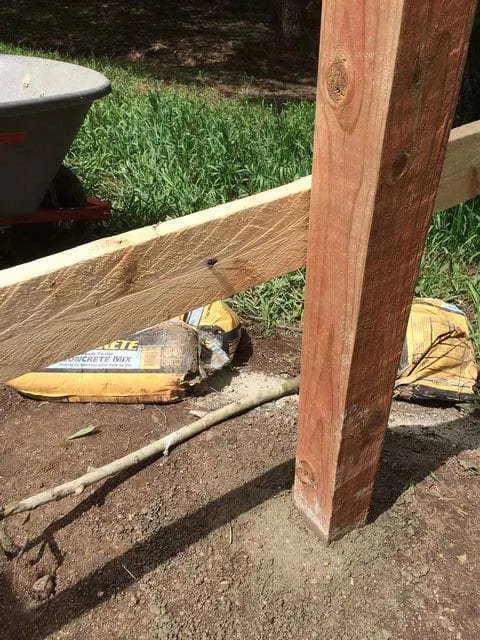
Level and re-level until all four posts are perfect.

Critter Guard
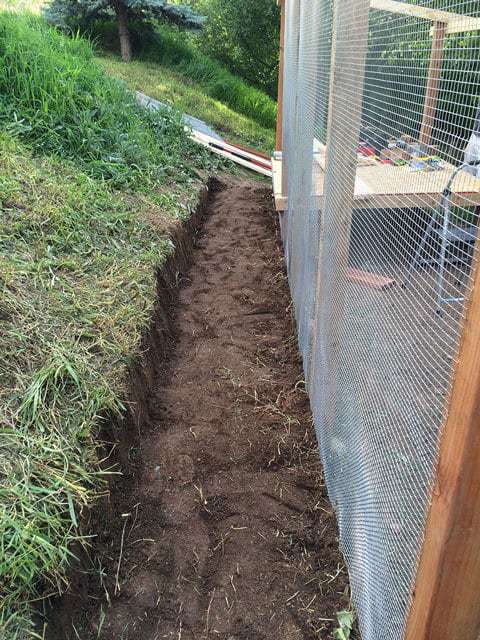
You don’t want predators to nab your chickens in the middle of the night, so dig deep and don’t use cheap chicken wire.

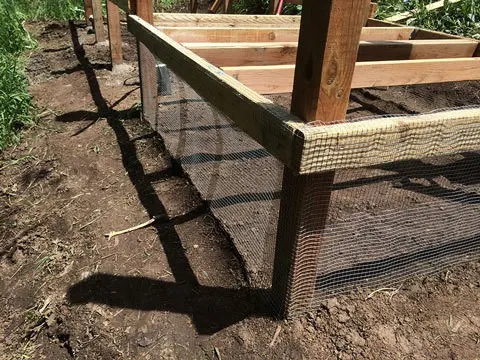

Further Predator Protection
We used pavers here (where the run door will be going). This way there’s no way a predator can sneak under the run door.

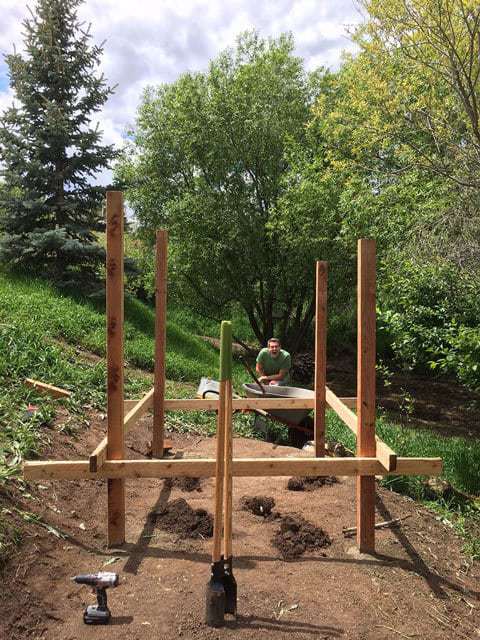
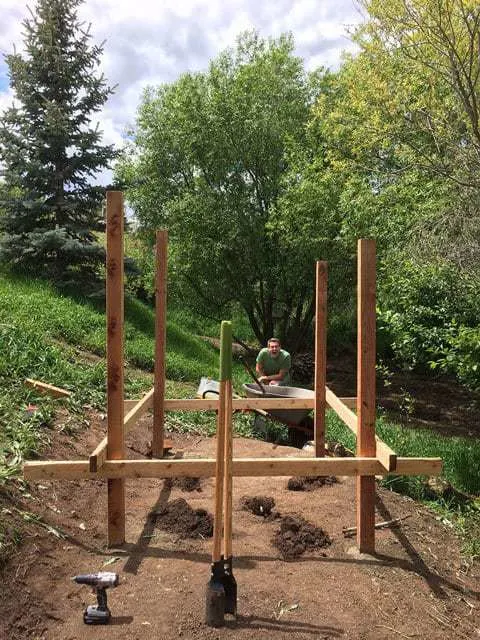
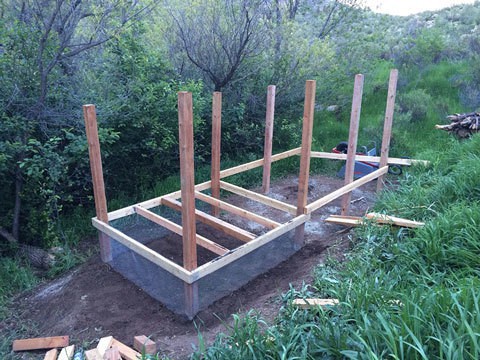
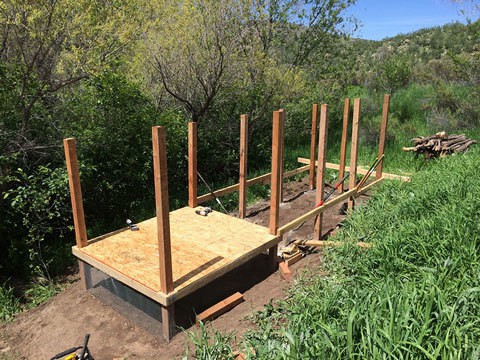
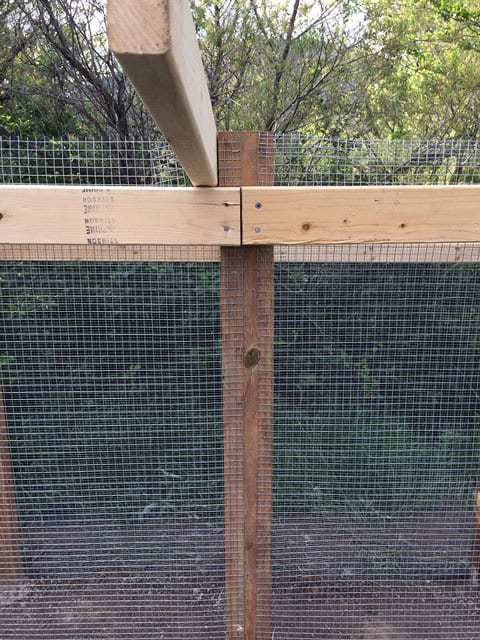
Finalize Chicken Run Columns
And adding the floor! Again, use 2×4’s to level your columns.

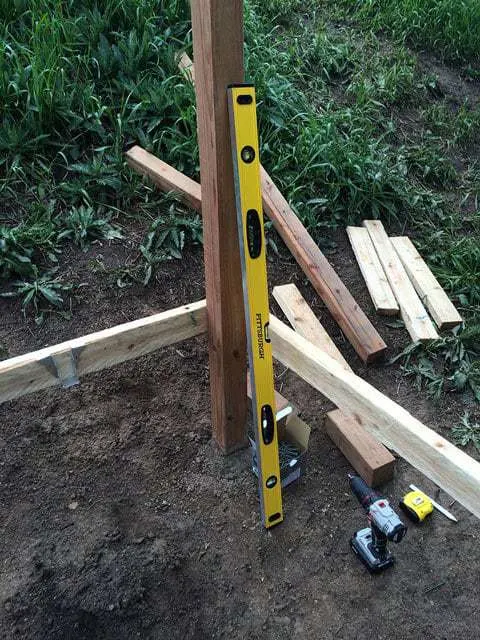
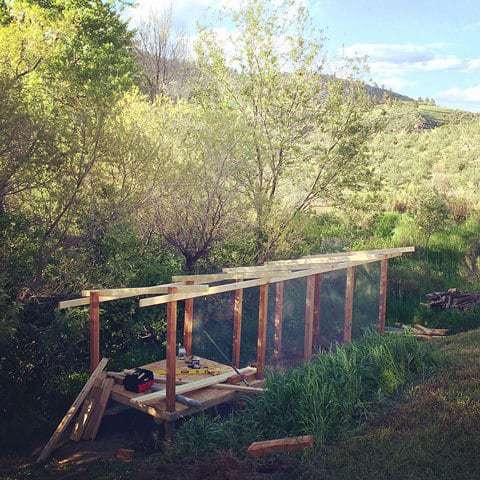
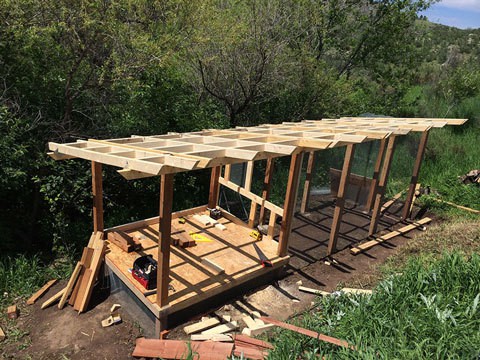
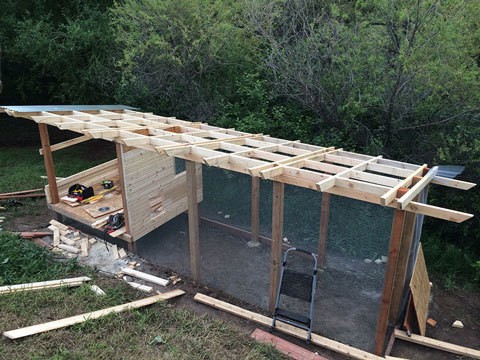
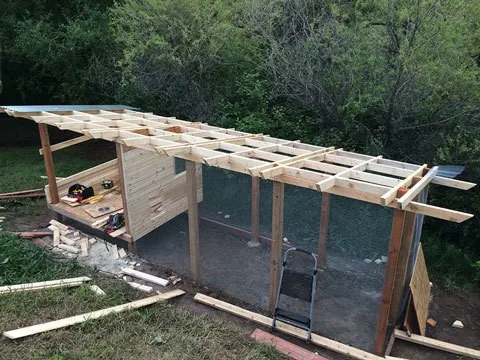
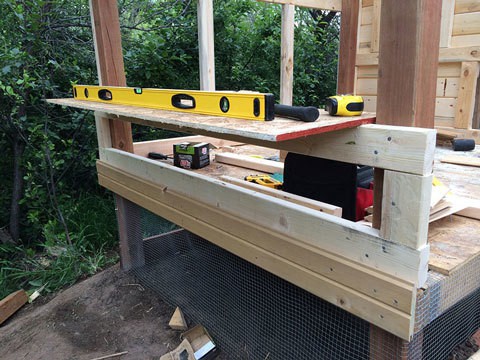
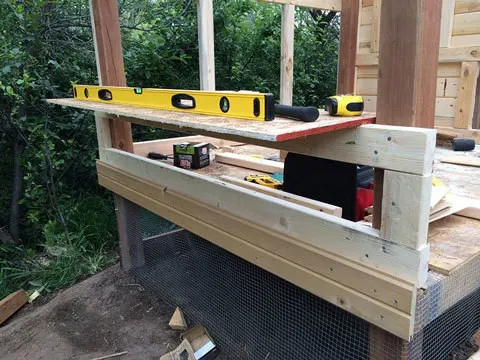
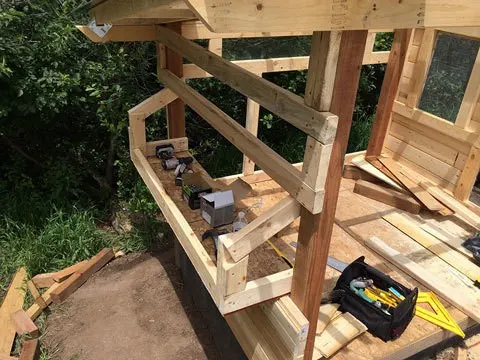
Level the Roof
This is a lot easier than you might think… use 2×4’s and set everything up using your trusty level. Get everything set right the first time so your metal roofing goes on with ease.

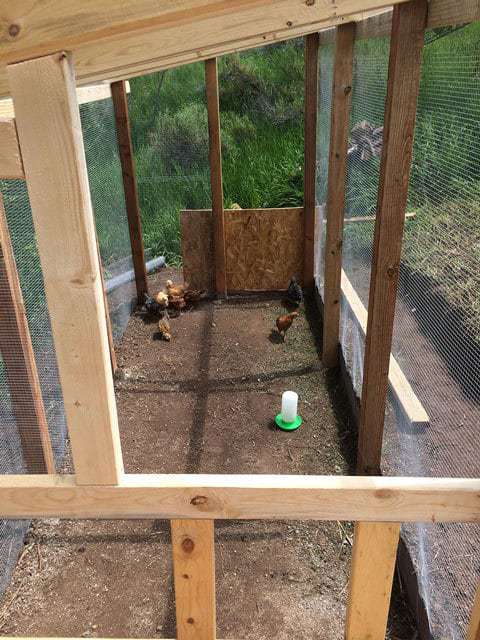
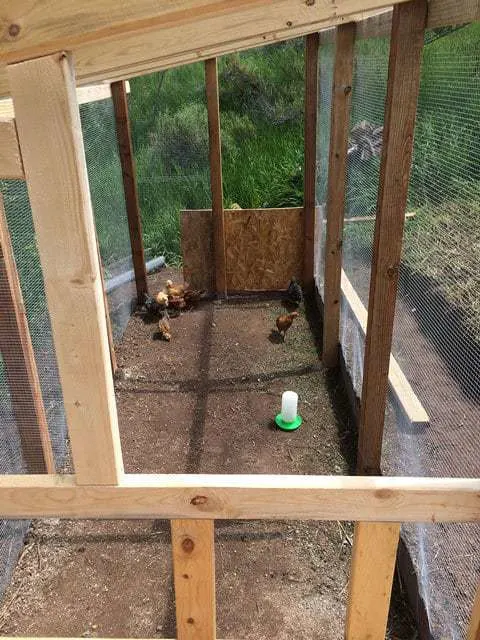
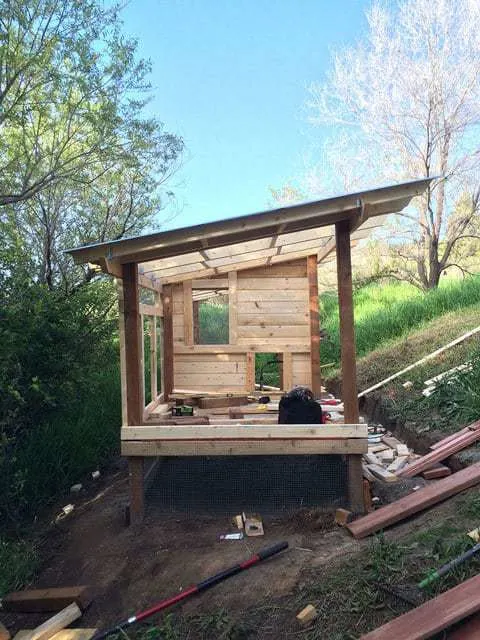
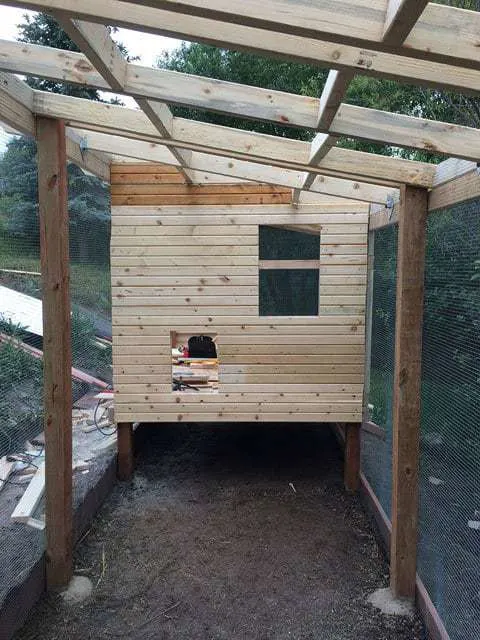
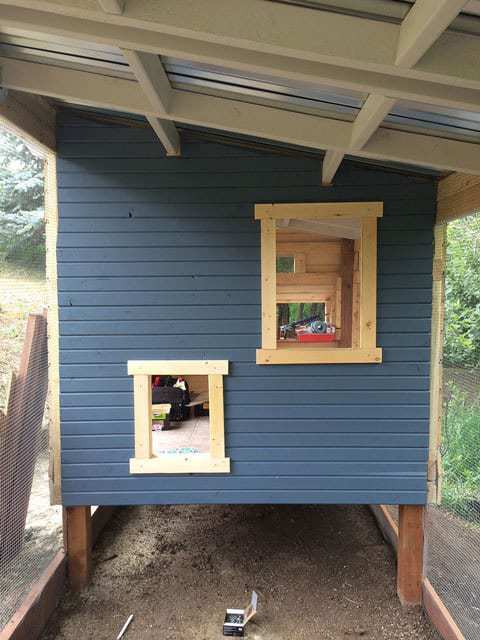
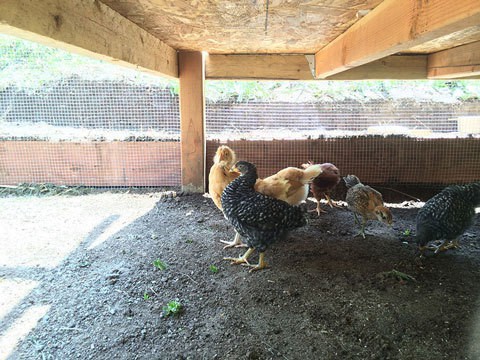
Hen House
These little ladies were begging us to check out their new run. Note: we have a lot of predators (the Bobcats are very daring), this is why we are creating this coop and run to be VERY secure. You’ll note a little further down (when we added the door, we left a few inches above the door, not enough room for anything large to fit through. However, (and I witnessed this from my office window) a Bobcat perched up above that door with it’s paw swiping what it could reach (ABOVE the door) and of course those dumb chickens were going nuts flying around… and the cat nabbed one, in mid air! I saw the whole thing (happened in about 5 seconds). I ran down to see if the chicken was salvageable and the hen and the cat were long gone down in the brush. The space above the door now has a board blocking it.


Clearing the Land
This building on a slope thing takes awhile, there’s a lot of digging. And in Colorado if you try digging when it hasn’t rained in awhile, good luck! Luckily we had a bunch of rain before this project and it made the digging a lot easier.

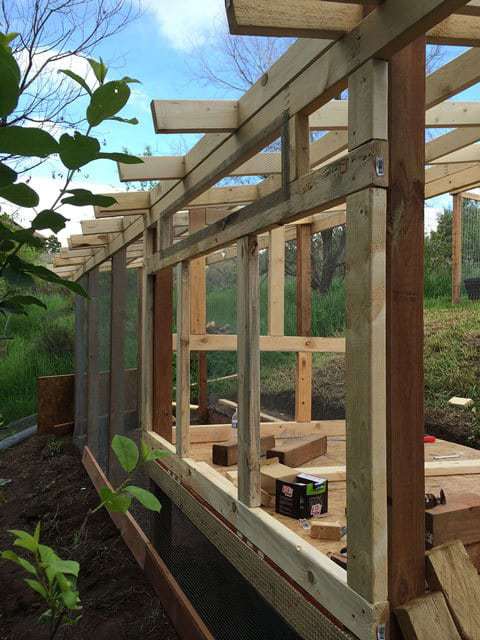
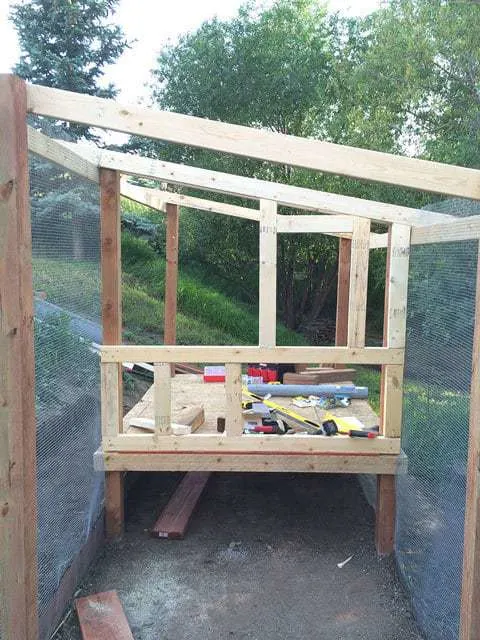
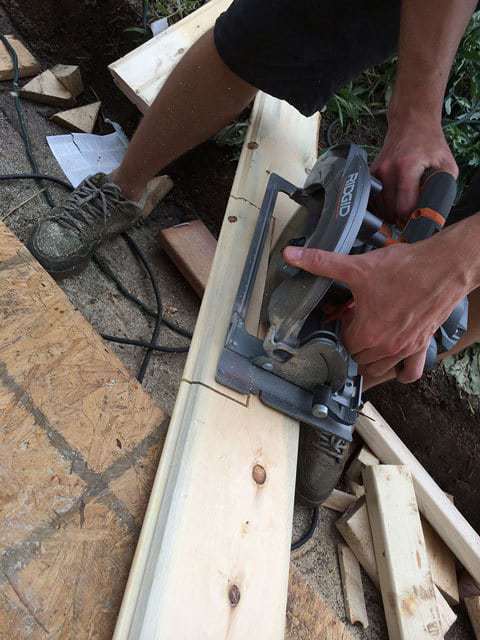
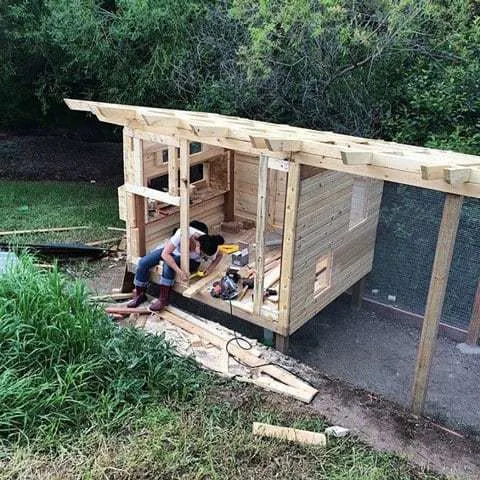
Framing the Coop
I did things a little differently here as you can see.


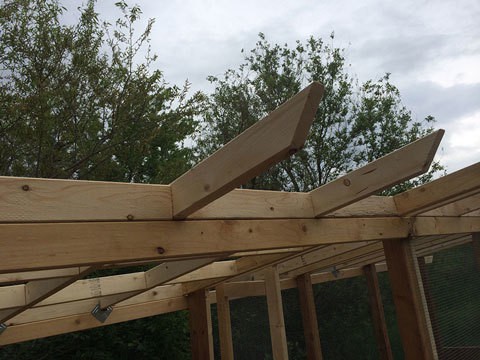
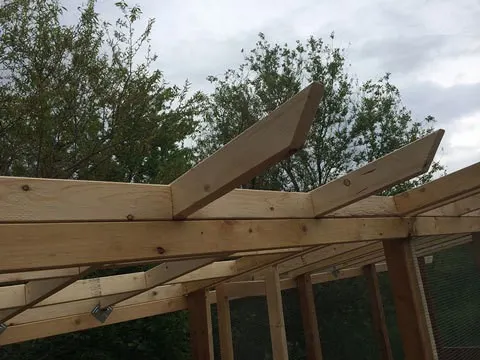
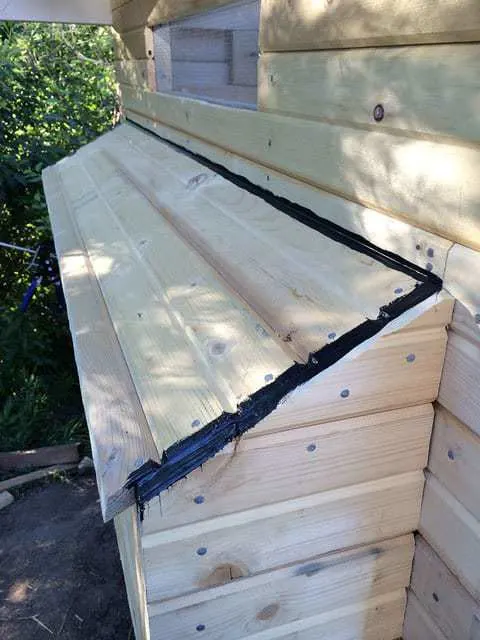
Roof Prep
The roofing prep was pretty straightforward. Just make sure everything you cut is the right size (and all lengths are the same).
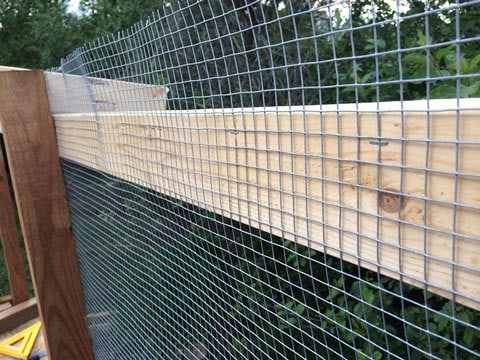
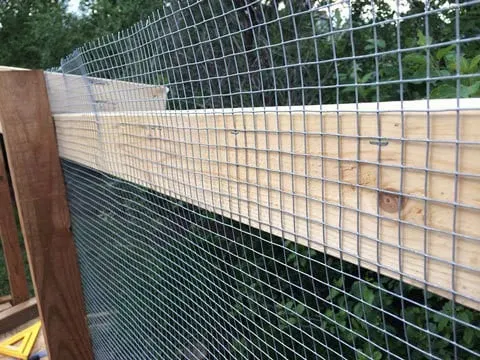
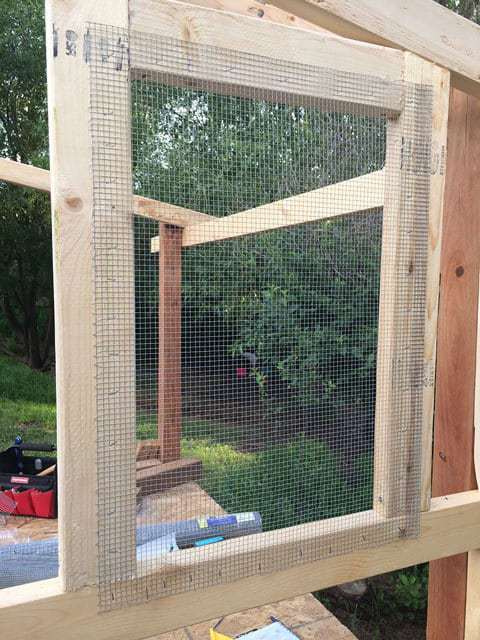
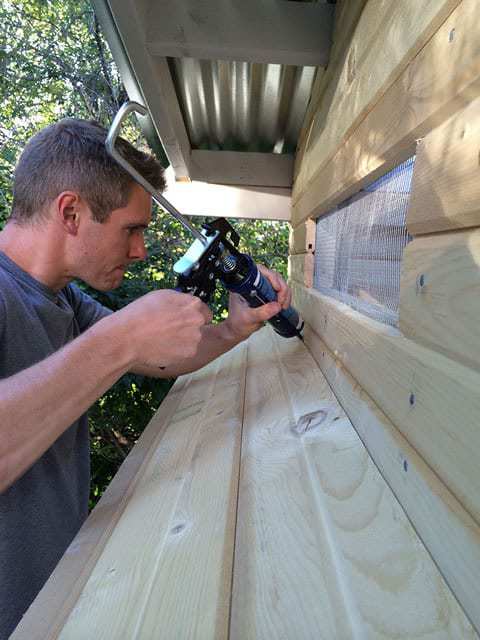
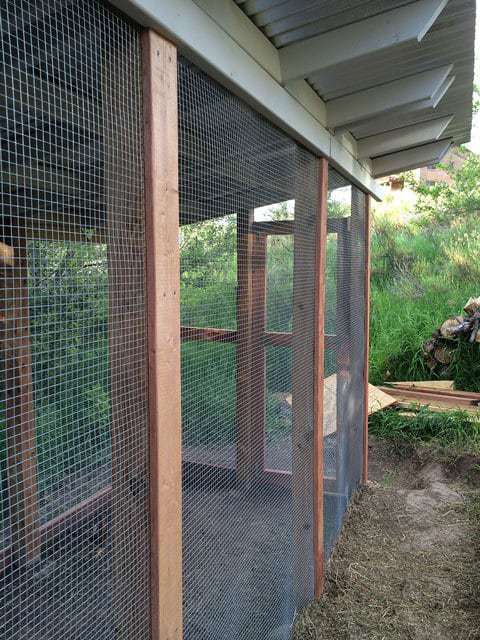
High Quality Wire Mesh
Use a solid wire mesh product that’ll allow you to “seal” up all the windows from predators.


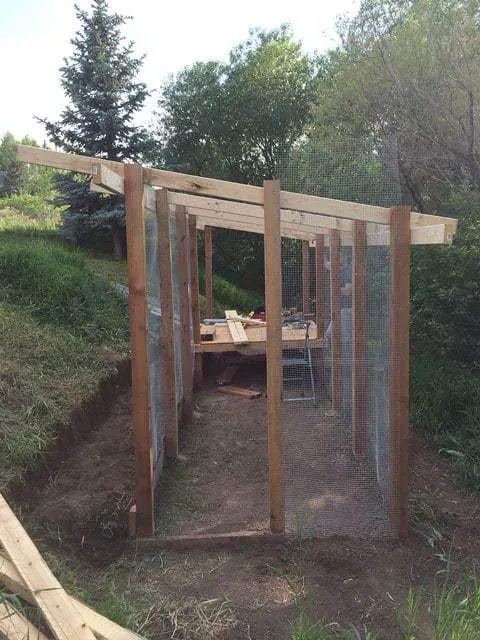
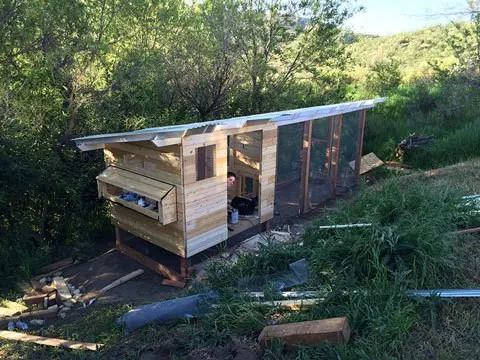
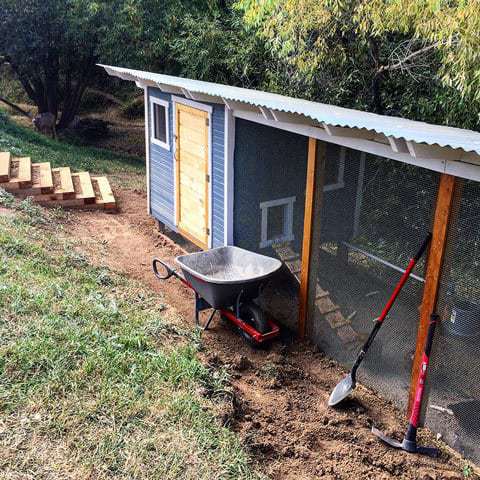
Chicken Coop Run
It’s all starting to take shape. The Chickens here need to be protected from the mass amounts of predators we have in the foothills. The coop location is right near a ravine with a lot of hiding spots for all the Chicken Killers. This design gives the Chickens a nice, protected run.

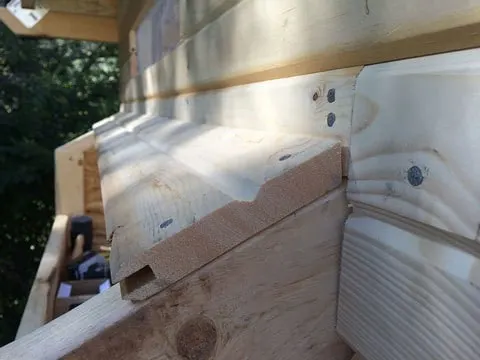
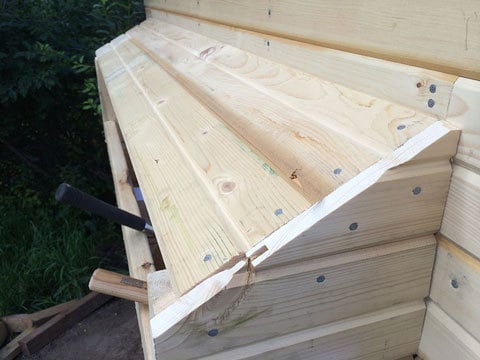
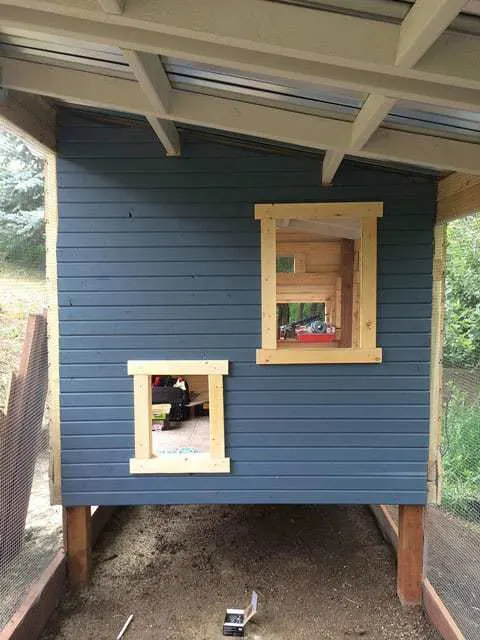
Chicken Coop Lap Siding (tongue and groove)
I choose to go with cedar lap siding but it was unnecessary, find something cheaper and it’ll be fine.


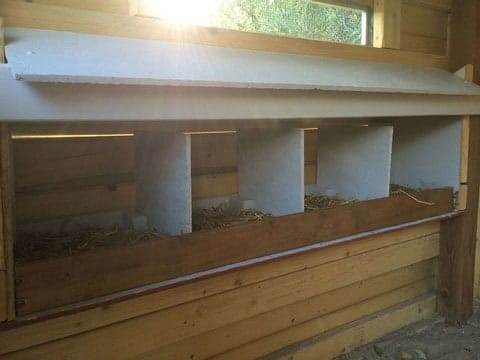
Chicken Coop Nesting Box
Here’s the whole reason we built the coop, the nesting box and all of those future eggs! When building the nesting box make sure you make it easily accessible, you’re going to be getting eggs daily (for much of the year) and if the box is in a bad location you’ll regret it.

Nails make it pretty easy (as long as everything is secure, which it is).


Seal it good (on the areas that are facing the sky).


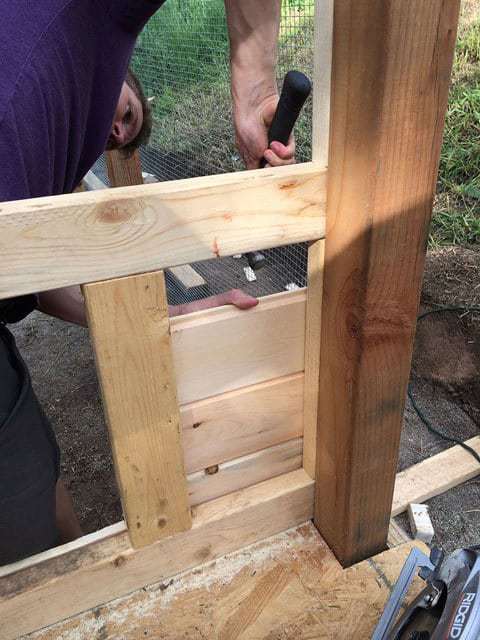
Chicken / Man Door for the Run
You’re going to want access to the run to clean and manage the Chicken’s water supply. I used pretreated wood and cut everything, laid it out and assembled. Make sure to measure everything… then measure again.
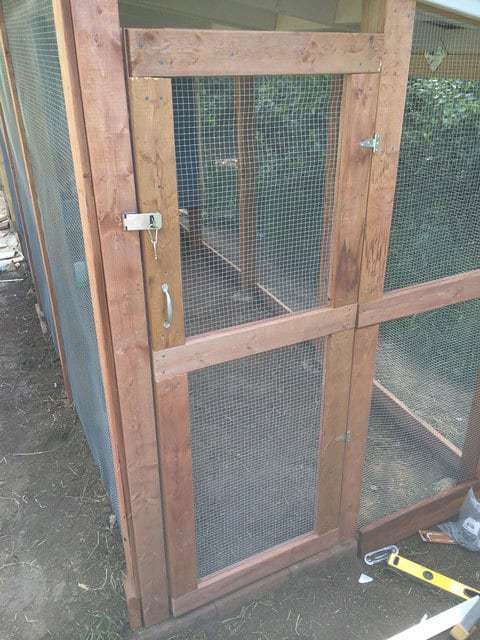
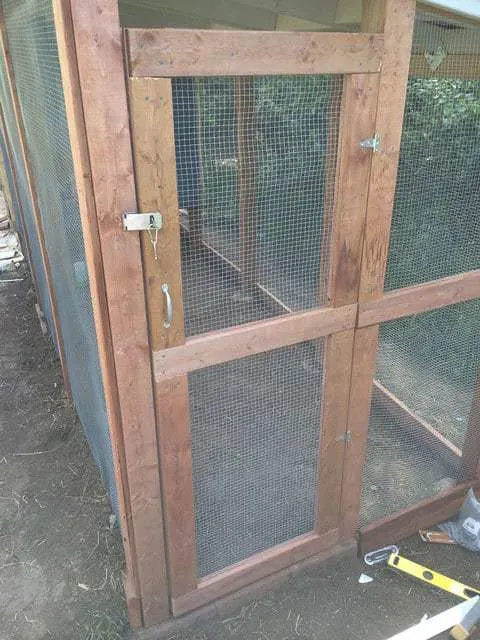
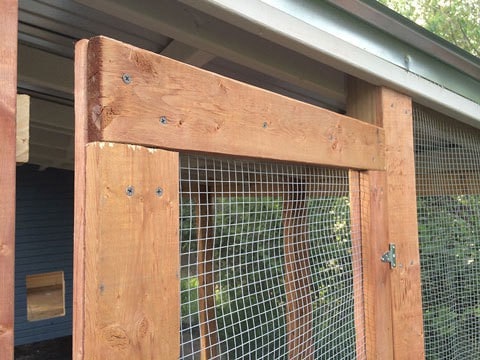

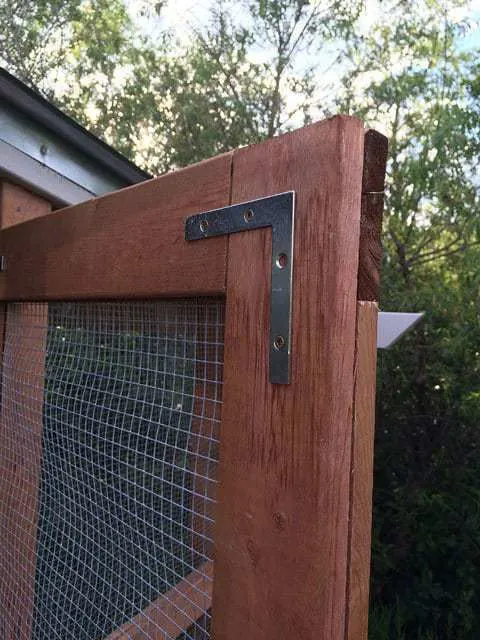
Reinforce the door with the right hardware.

Finish Work (to cover the wire mesh areas)
Again, I used treated wood to add the finish / exterior look on the exposed 4×4 posts and to cover the stapled mesh sections.

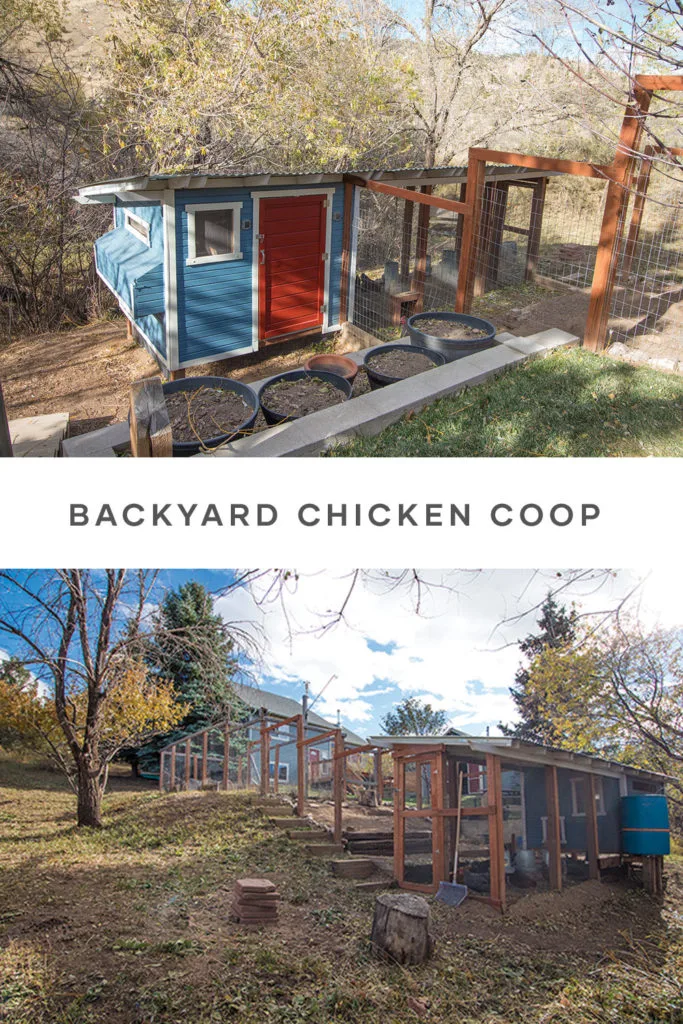
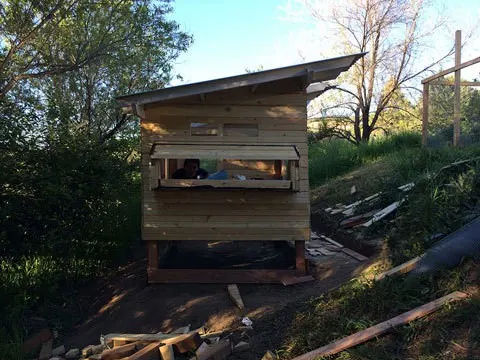
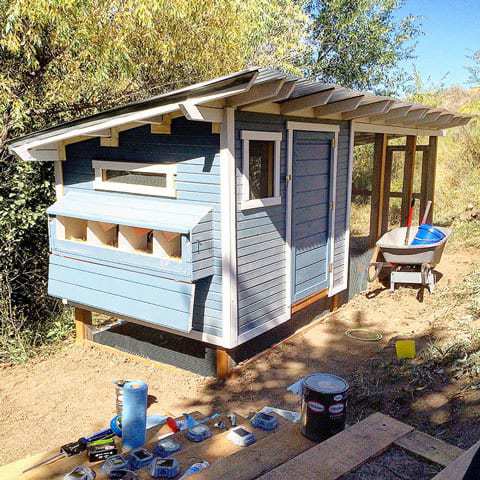
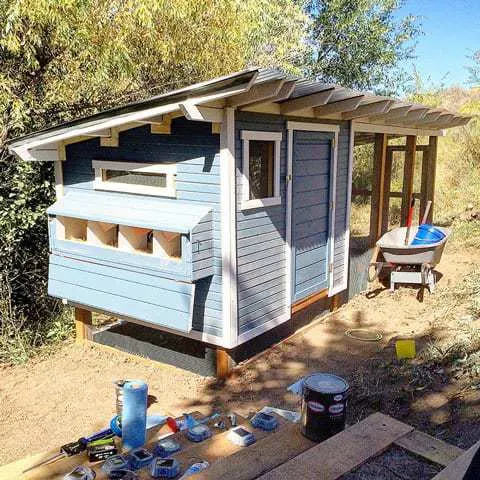
Chicken Coop
Getting close and tying all the pieces of the build together is the best part. We’re so close!

Addition of the metal roofing. We used metal roofing screws and made sure to build the coop (size) to fit the metal sheets. I didn’t wan to cut the metal roofing sheets (no good reason to).

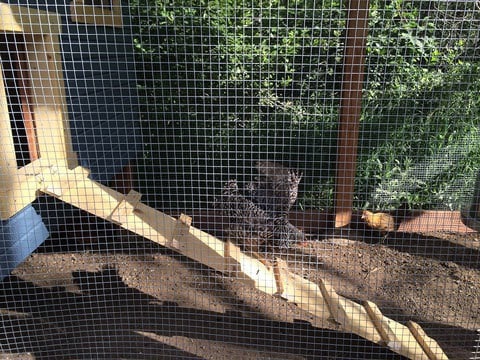
Simple Chicken Run Ladder with Hooks
The coop is off the ground and this ladder allows the Chickens to access the run / coop. The hooks allow us to remove the ladder for cleaning or whatever else
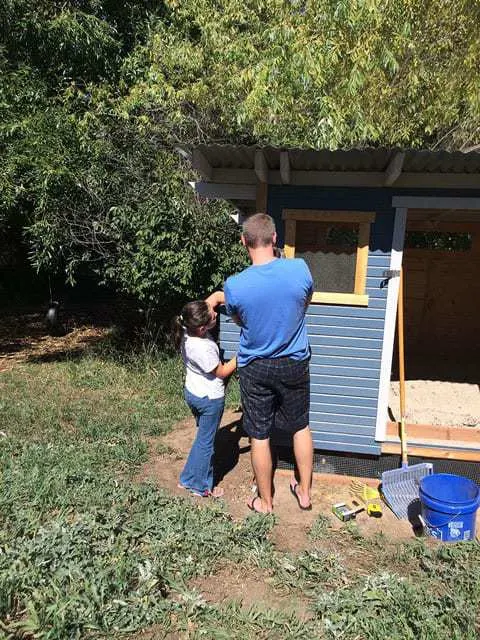
A little paint…
Getting some great assistance!

We added this “sand block” at the door (where we clean out the chicken poop).


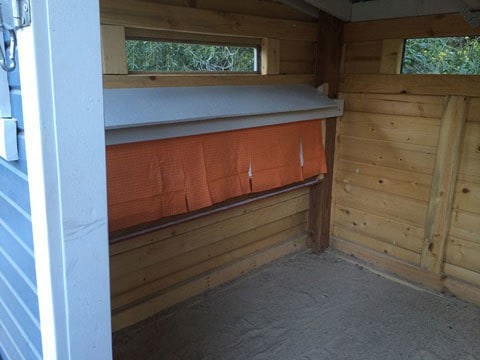
More (completed) Nesting Box Pictures
The nesting boxes should be private and comfortable.

Fabric covering for improved privacy.

Welcome to your new home!

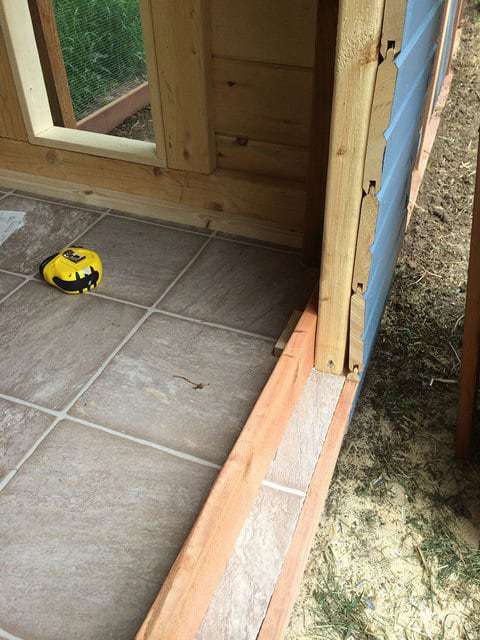
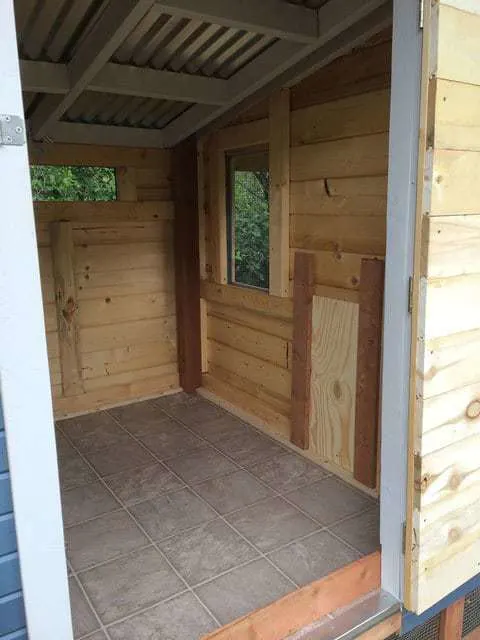
Chicken Coop Flooring
We laid a sheet of linoleum flooring, didn’t work. The Chickens learned how to rip it up. We’ve since ripped it out and will be painting with a high quality floor paint (to protect the plywood flooring).


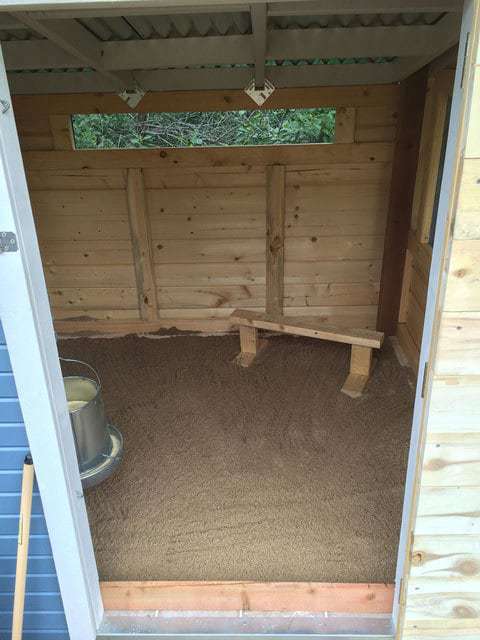
Sand floor (to make poop’n cleanup easier).

DIY Chicken Coop
While these aren’t Chicken coop plans (cause that would have taken way too long) hopefully these pics can give you some inspiration for your chicken coop. The process was a lot of fun and we’re proud about how it turned out!

Good luck and post questions in the comments if you have them.
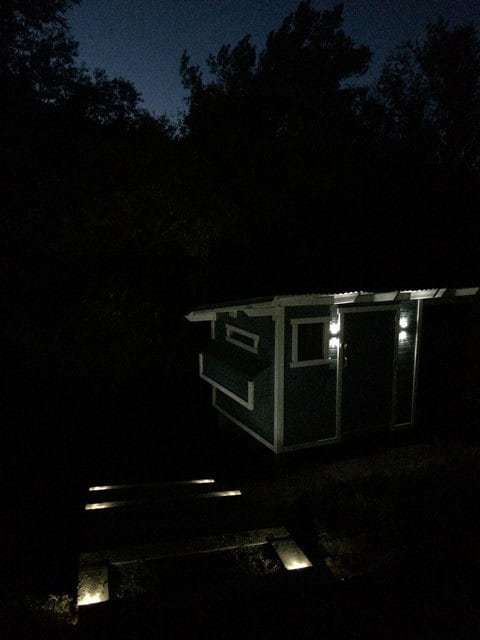
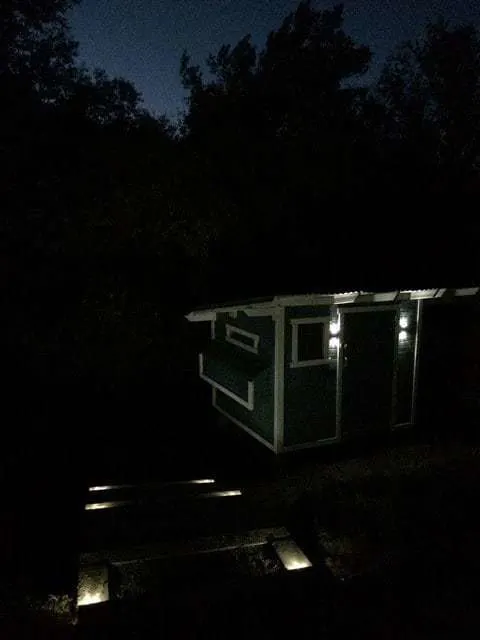
These little solar lights were the perfect, final addition.
Ayelet
Sunday 26th of April 2020
This is such a great project, thank you for publishing with such great pictures, trying to rethink our project in Israel... Do you have any problem of wild life trying to break in? here jackals and others killed some of our village chickens before.
Anne
Saturday 28th of March 2020
I love your coop! What are the dimensions of your coop and run separately? And how many chickens do you have in there? Looking back are there any changes you would have made? We are about to build a new one based on yours so would love any tips! Thanks
Vincent Vescio
Friday 10th of January 2020
Hey Rob, Nice job. Look great. How did it hold up? I'm in central Pa. There's a ton of rocks in the ground here too. How deep did you get the metal mesh around the perimeter?
Lauren
Thursday 1st of February 2018
This is amazing! About how much did it cost to build? We're in dire need of a new coop!
Rob Benson
Sunday 11th of February 2018
This got to be pretty expensive (I bought all the wood from Home Depot). I'm guessing close to $1,500.