

For many years now, our family has been drinking kombucha. From the days when, upon hearing the word “kombucha”, we were met with faces of utter confusion and questions like “kombu-what?!” to now, when we get replies of “Oh, what brand is your favorite” and “I make my own at home”. This centuries-old probiotic-rich drink has come a long way in recent years.
While there are a lot of fantastic brands you can buy in any chain grocery store these days (GT’s is our favorite), the monthly cost of drinking a 16 oz bottle of kombucha a day is pretty significant. For just 2 people to drink 1 bottle of kombucha a day, the store-bought cost can be between $200-$400 a month! That’s insane for just a daily beverage.

Because of this significant cost, I decided to try my hand at making my own at home. A few years ago, I setup a system in my pantry. It was not a continuous brew (which is what I’ll be discussing in this blog post) and I didn’t have much success. We didn’t like the flavor, the maintenance was too frustrating for me, and I gave up.
Fast forward to now, my continuous brew kombucha system is thriving and we love the results. In my experience, the continuous brew is absolutely the way to go. What we have right now is sufficient for sustaining 2 adults with daily kombucha, so I will likely double our production so there’s enough for the kids as well (so they will stop drinking ours!).
Getting started with your own continuous brew system is actually pretty simple. You will need to initially invest in some supplies, but the cost breakdown is much cheaper than a daily habit of picking up a bottle at the local Whole Foods.
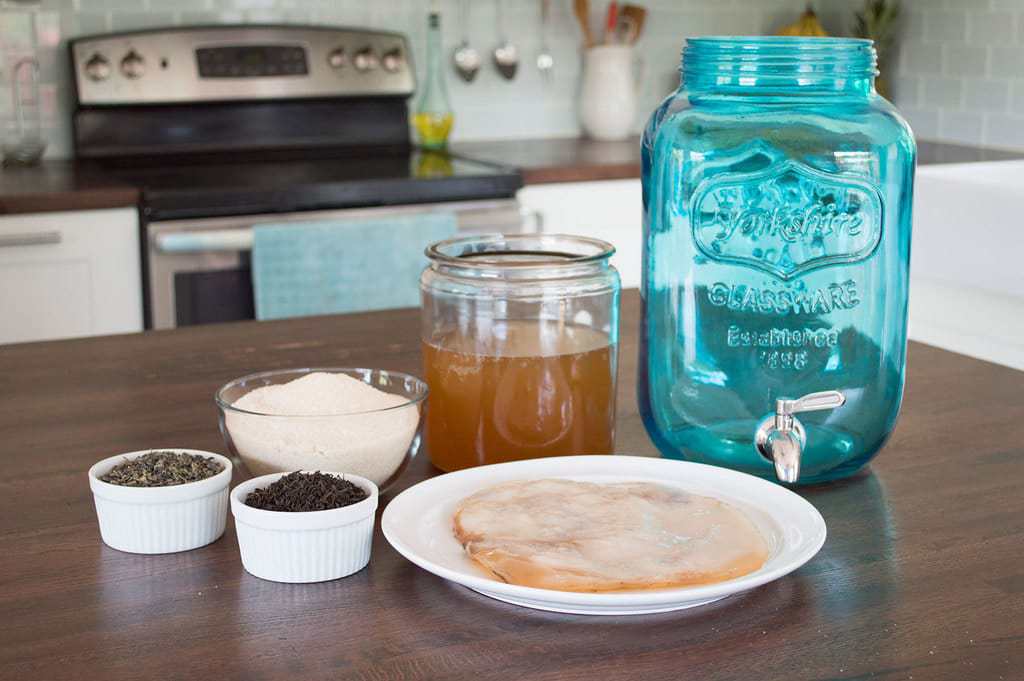

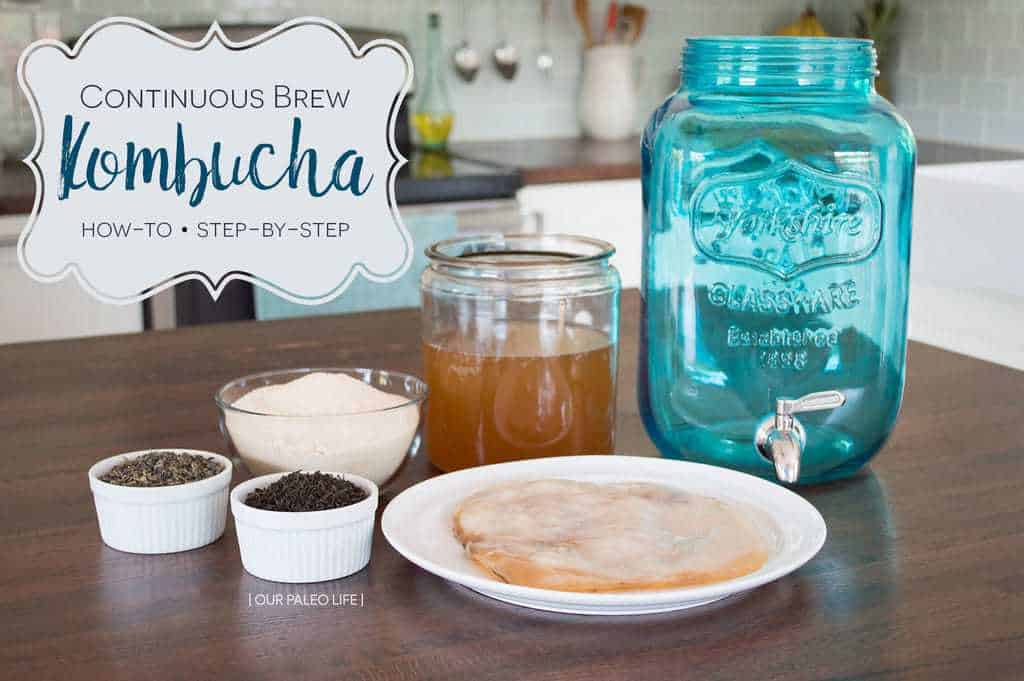
Here’s what you’ll need to get started:
- A crock to brew in (we use a 2.2 gallon which is the perfect size for (2) 16oz drinks per day)
- A tight-weave piece of fabric large enough to cover the opening of the crock with overhang on the edges (cheesecloth will not work, the weave is too loose and will let fruit flies in; organic quilting cotton is a great choice)
- A large rubber band to hold the fabric on the crock
- A brew-safe spigot for the crock. Plastic is great, but avoid the metal-look plastic ones, they flake off into the kombucha. We use a brew safe metal spigot (more on problems with metal later in the post)
- Bottles (swing-top are best, but reusing store-bought kombucha bottles is fine too)
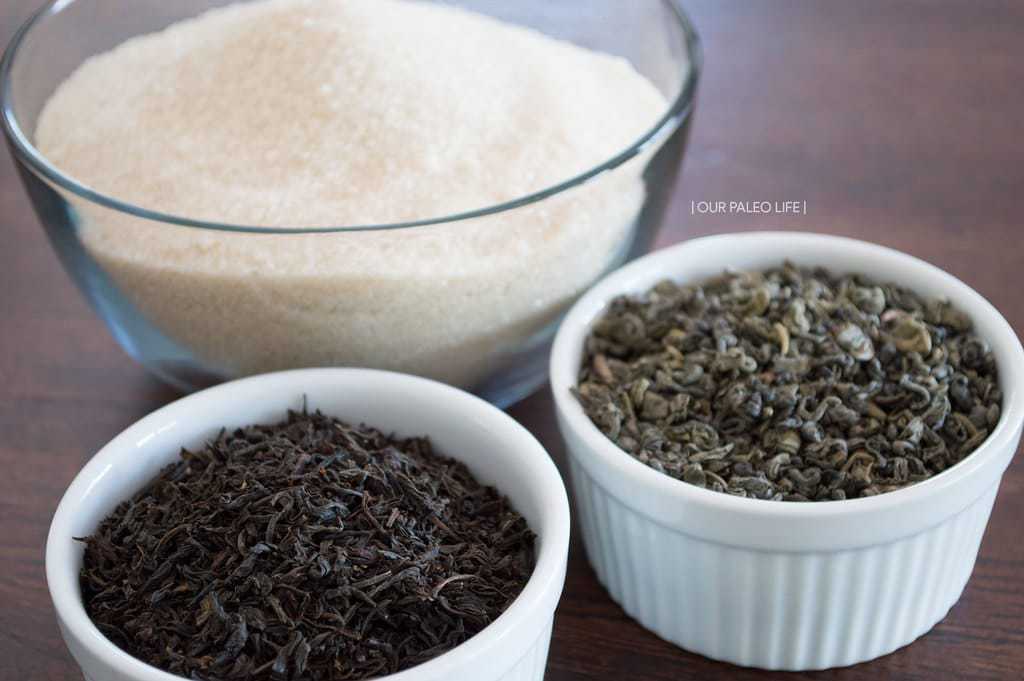
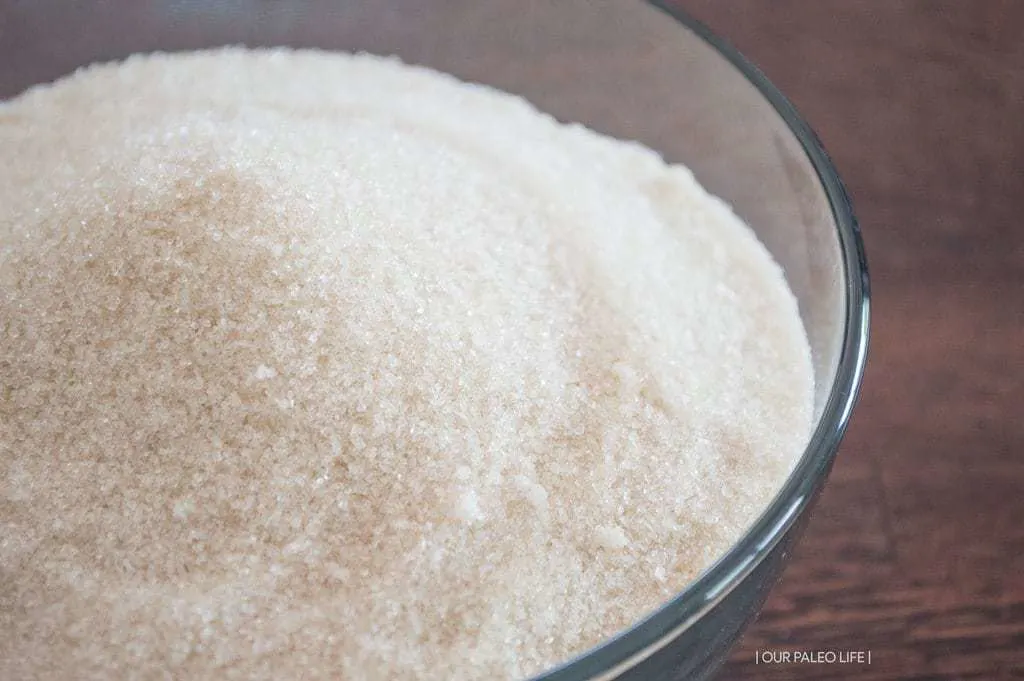
- Organic Cane Sugar
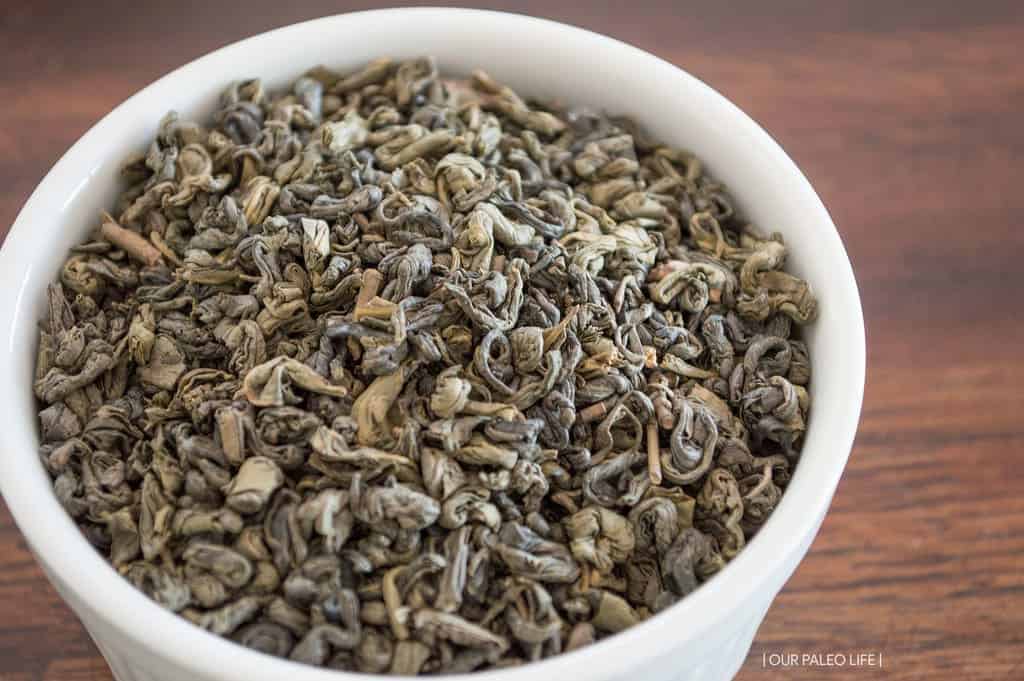
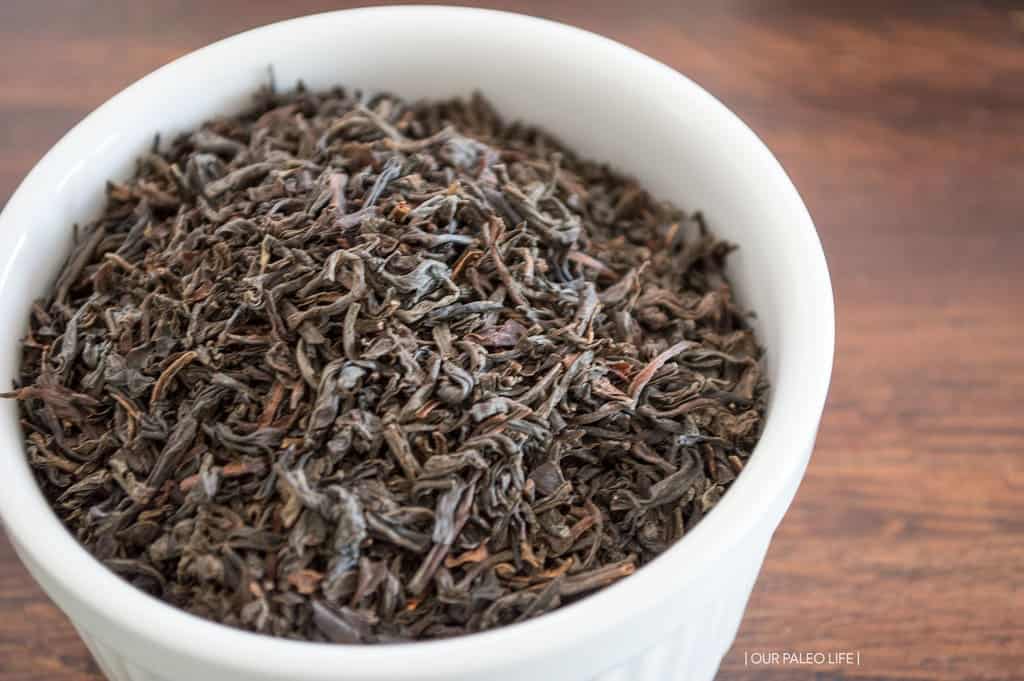
- Black, green, and/or white tea (we prefer a 50/50 blend of black tea and gunpowder green tea)
- A SCOBY, or symbiotic colony of bacteria and yeast (while you can buy these online, it is best to try and find a friend or neighbor that has one they are willing to share with you)
- Starter tea (if you’re getting your SCOBY from a friend, they will likely give you a cup or two of starter tea to go along with it)
Now that you’ve got the basic materials and ingredients, how do you use them to make your own kombucha and maintain a low-maintenance continuous brew system?

First things first, brew your tea. This is not your starter tea that you get with your kombucha, but the plain sweet tea that you add to the starter tea. The size of your crock will determine how much sweet tea you have to make. If you’re using a 2.2 gallon crock, 2 gallons of tea fits perfectly. If you only have 1 cup of starter tea, you should only start with 1 gallon of sweet tea, let that ferment, and on your second batch, bump up to the full 2 gallons. If you’re fortunate enough to get 2 cups of starter tea, you can go with 2 gallons of sweet tea right off the bat.
Everyone uses a different combination of teas to make their own kombucha, but my preferred combo is 50/50 black/green. To be more exact:
- 2 gallons Water
- 2 cups Organic Cane Sugar
- 2 Tbsp Black Tea
- 2 Tbsp Gunpowder Green Tea
To brew the tea, I only use 1/2 gallon of water for all that sugar and tea. In a pot large enough to hold the 1/2 gallon of water, I add the water and sugar. For the loose tea, the easiest method I’ve found is to place a metal fine-mesh colander in the pot and place the loose tea leaves in that. Bring the water to a boil with the tea leaves in it, remove from heat, and let steep for about 30 minutes. This creates a nice, strong tea. Then simply lift the colander out of the tea and discard the tea leaves.
The reason I only use 1/2 gallon of water instead of the full 2 gallons is because I can cool it down faster by adding the remaining 1.5 gallons of cold water. You know how if you add fish to a fishbowl of water that is too hot or too cold it will kill them? Same goes for the SCOBY. The brewed tea needs to be close to room temperature to keep it alive.


Once you have brewed your tea and it’s close to room temp, before you start anything else, you must be sure to sanitize everything you’re using. The crock, spigot, bottles, everything. Don’t use dishsoap for this, just hot water and a rinse in vinegar will be just fine. And residual soap will be detrimental to the SCOBY, so avoid using it altogether.
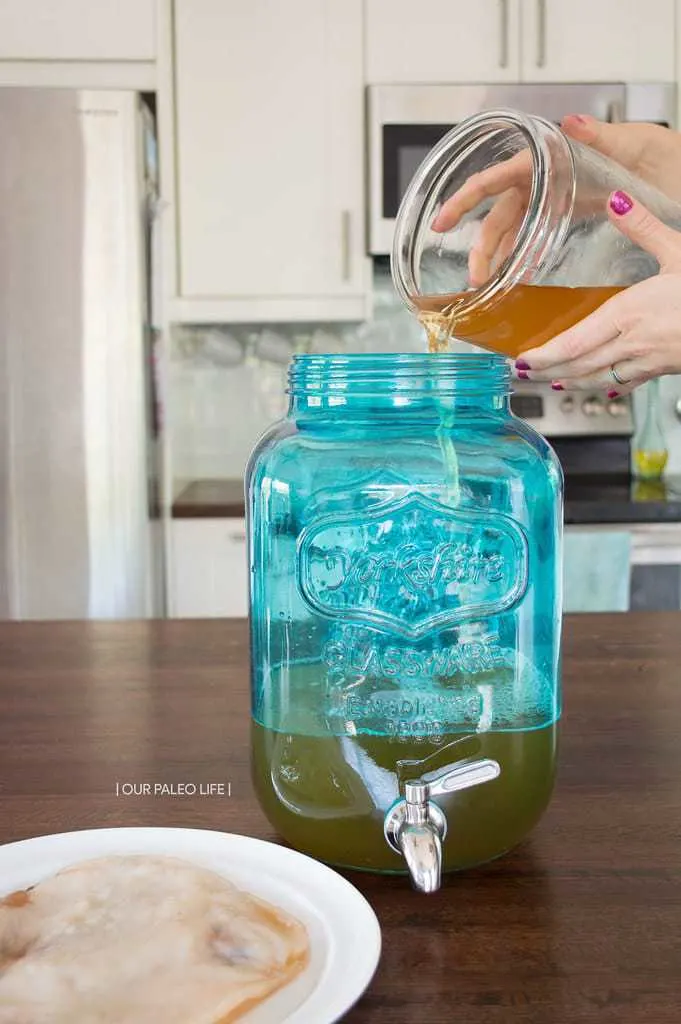
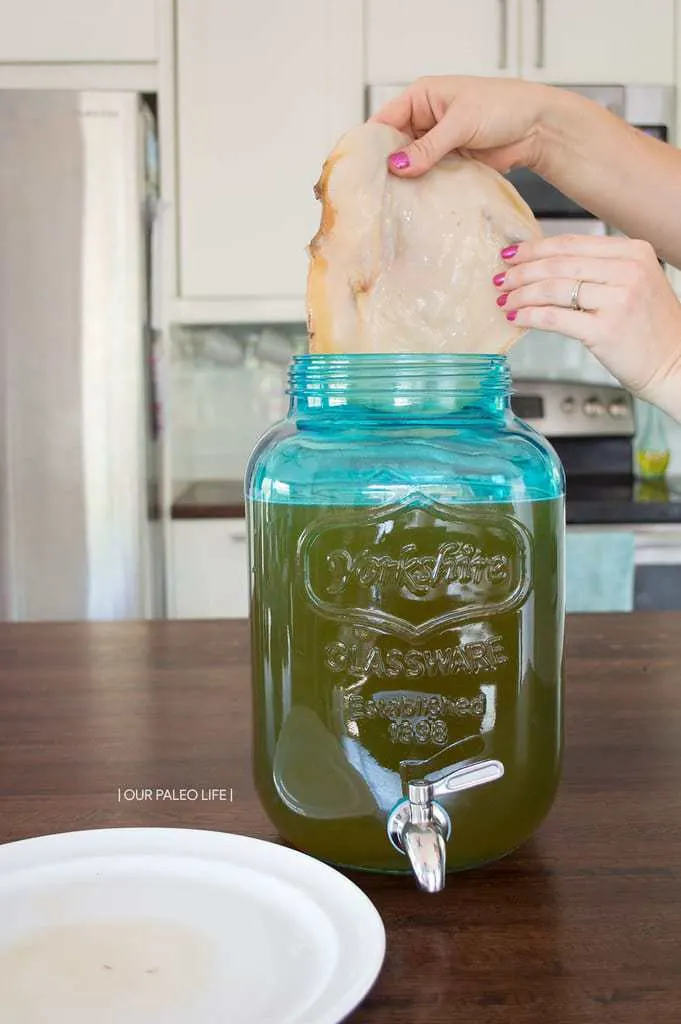
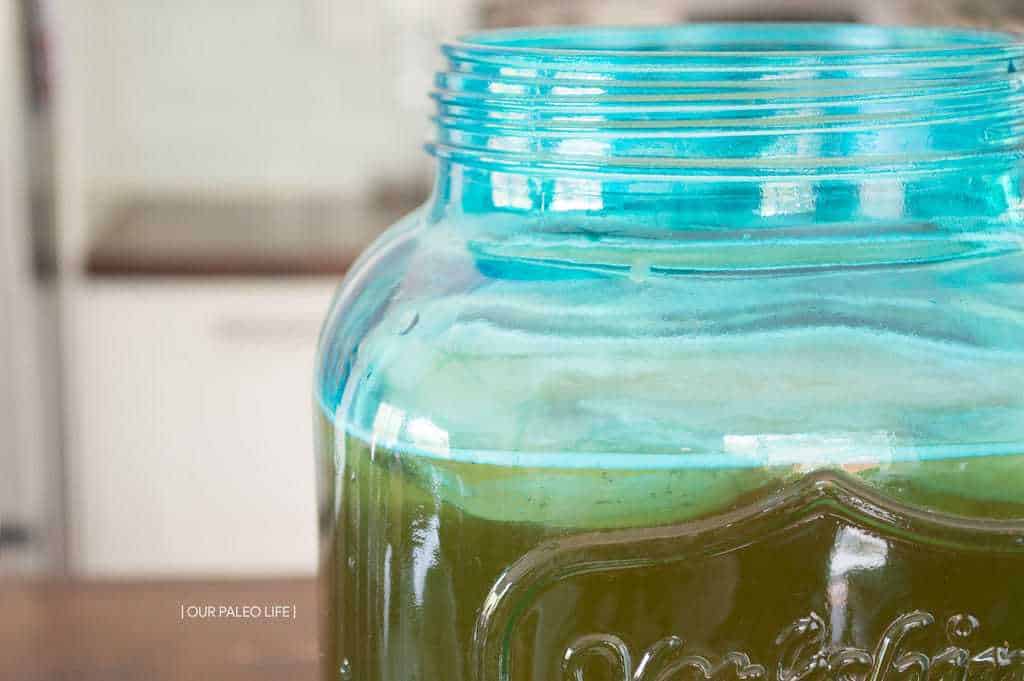
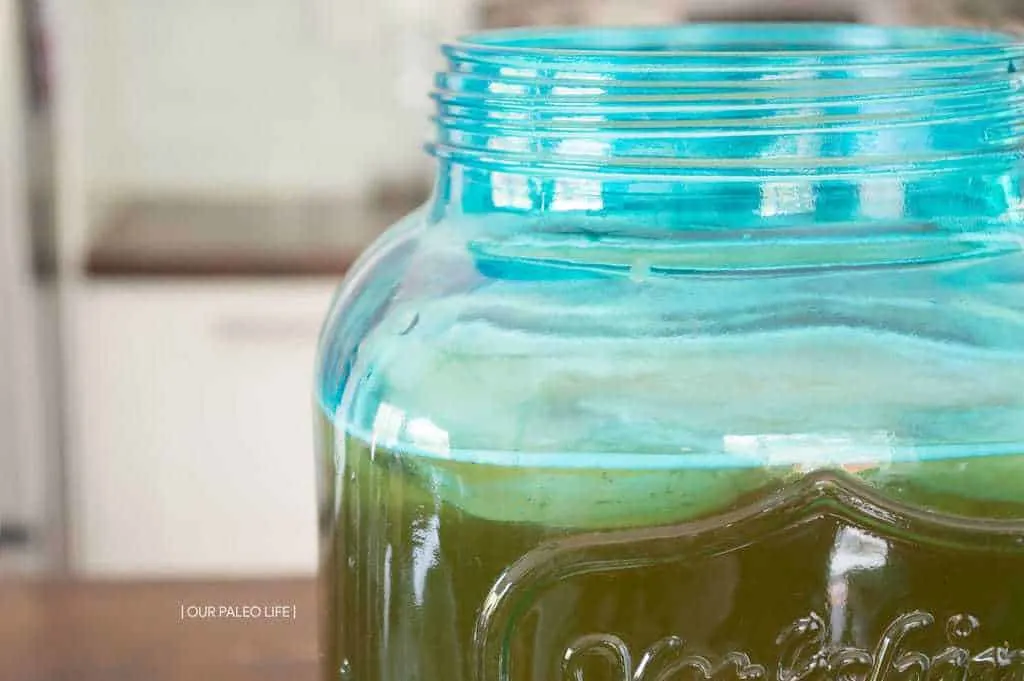
Once everything (your hands included) is sanitized, pour your starter tea and brewed sweet tea into the crock. Learn from me and be absolutely positively sure that the spigot is closed before you pour in your tea. Not 1/2 open, but absolutely closed! Trust me. Very gently, place your SCOBY into the tea, trying to keep it on the top surface. It may sink to the bottom or even just float around the middle, and that’s fine. It will eventually find it’s way back to the top. Place the tight-weave fabric (quilting cotton is actually perfect for this) over the top and secure it with the rubber band.


Now you wait. The first fermentation has begun. Side note, I’m a tad bit forgetful (understatement of the year), so I like to write the date I start the fermentation on the side of the crock. A liquid chalk marker is perfect for this. It wipes off easily each time so I can change it with the next batch.
To determine when you should start to bottle the kombucha is a personal preference and also depends on the room temperature. If your kombucha is in a cool or drafty location, the process could take up to 2 weeks. If you have no other options for location, you could wrap traditional twinkle lights (not the new LED ones) around the crock to increase the heat, or get an actual heater meant for this. If the room temperature is too hot (like our kitchen in the summer months), the first ferment will take just days.
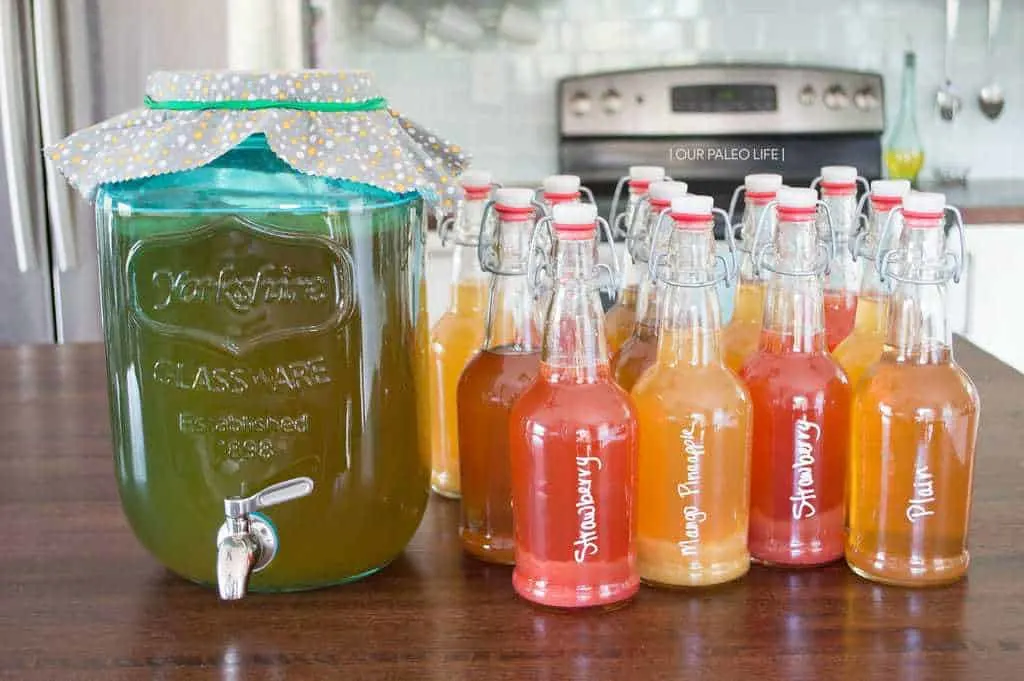
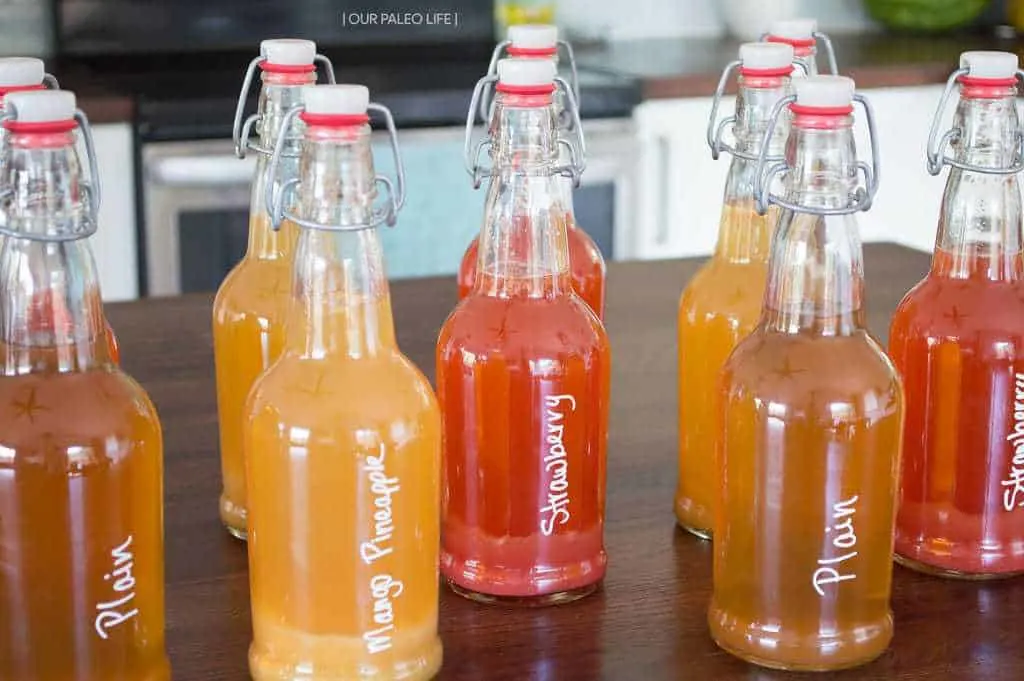
After about 3-4 days, I start to taste it. Once the sweetness is mostly gone (but still there just a bit) and the vinegary taste is more prominent, it’s time to bottle. The fastest way to do this is to fill a pitcher (glass is best, but I do use plastic on occasion), then using a non-metal/reactive funnel, pour the kombucha into each bottle. Make sure to leave some space to add about 1-2 ounces of fruit puree or juice if you plan to flavor your kombucha (some flavor ideas are at the end of this post).
Once you’ve filled your bottles with kombucha and flavors (and labeled them with that same liquid chalk marker), close them up tight and leave them at room temp for another 3-5 days for the second ferment. This is when that beautiful carbonation process happens. The sugars in the fruit keep the fermentation process going and create bubbly goodness. The higher the sugar content in your fruit (like strawberries), the faster this second ferment will be. After the first 2 days, you may want to “burp” the bottles to get a gauge on the process and make sure they don’t over-carbonate (exploding bottles are no fun!). To burp, just very barely open the top to let out some air and quickly close it. If you get a bunch of fizz very quickly, your second ferment is done. This really shouldn’t need more than 3-5 days.
Once you’ve got a nice second ferment done, place the bottle in the fridge. The cold temperature will stop the fermentation process. Now you’ve got a nice batch of kombucha ready to go all week.

But that was just the first batch. How does the “continuous” part of this work? Well, basically the same as the first batch, except that you’re not having to clean and sanitize the crock and spigot each time. When you draw the kombucha off for your first bottling, leave about 1/4 of the kombucha in the crock. This will serve as your starter tea for your next batch. This also means that from here on out, you only need to brew 1.5 gallons of tea each time. This means:
- 1.5 gallons Water
- 1.5 cups Organic Cane Sugar
- 1.5 Tbsp Black Tea
- 1.5 Tbsp Gunpowder Green Tea
Once you’ve brewed and cooled your tea, remove the SCOBY (with sanitized hands, of course) and set it aside, pour in the tea, and add the SCOBY right back. Done. This should only need to be done once a week, if the temperature is right and your first ferment is done in 5-7 days.
Our Favorite Flavors (so far…)
Strawberry
2 cups Fresh Strawberries
A bit of Plain Kombucha to thin it out
Cherry
1 cup Tart Cherries (fresh or frozen, thawed)
2 tsp Sugar (to enhance carbonation)
A bit of Plain Kombucha to thin it out
Blueberry Lemon
1 cup Blueberries (fresh or frozen, thawed)
Juice of 1 Lemon
2 tsp Sugar (to counteract the citrus and enhance carbonation)
A bit of Plain Kombucha to thin it out
Mixed Berry
1 cup Mixed Berries
Juice of 1 Lemon
1 tsp Sugar (to counteract the citrus and enhance carbonation)
1″ Grated Ginger
A bit of Plain Kombucha to thin it out
With all the fruit purees I make, I strain them through cheesecloth, a nut milk bag, or a metal mesh strainer. It’s okay to use metal at this step because it is not coming in direct contact with the kombucha itself. Straining the puree makes the texture of the end product much more palatable, so you don’t have chunks of fruit or seeds to contend with.
Helpful Info
- For more info, tips, advice, experiences, failures, success, and new flavors, be sure to follow along on Instagram using the hashtag #OPLkombucha.
- Metal should never come in contact with kombucha or the SCOBY. It is okay to brew the tea in a metal pot, or to strain the fruit puree in a metal mesh colander, but the kombucha itself cannot touch metal. The exception to this rule is stainless steel with no lead in it. We do use a metal spigot and the flow rate is phenomenal!
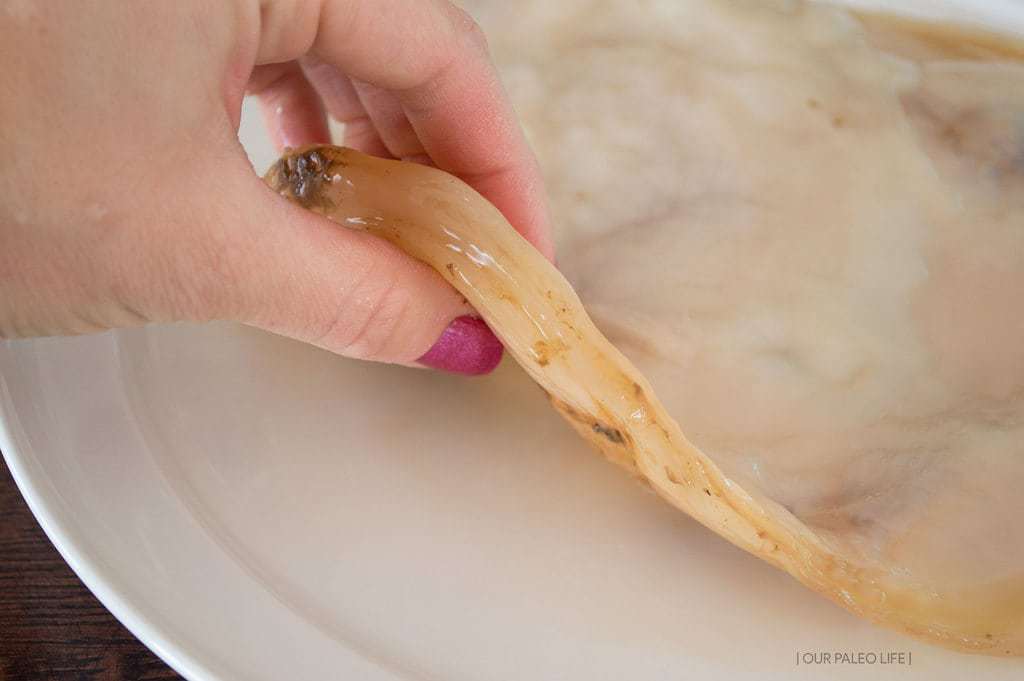
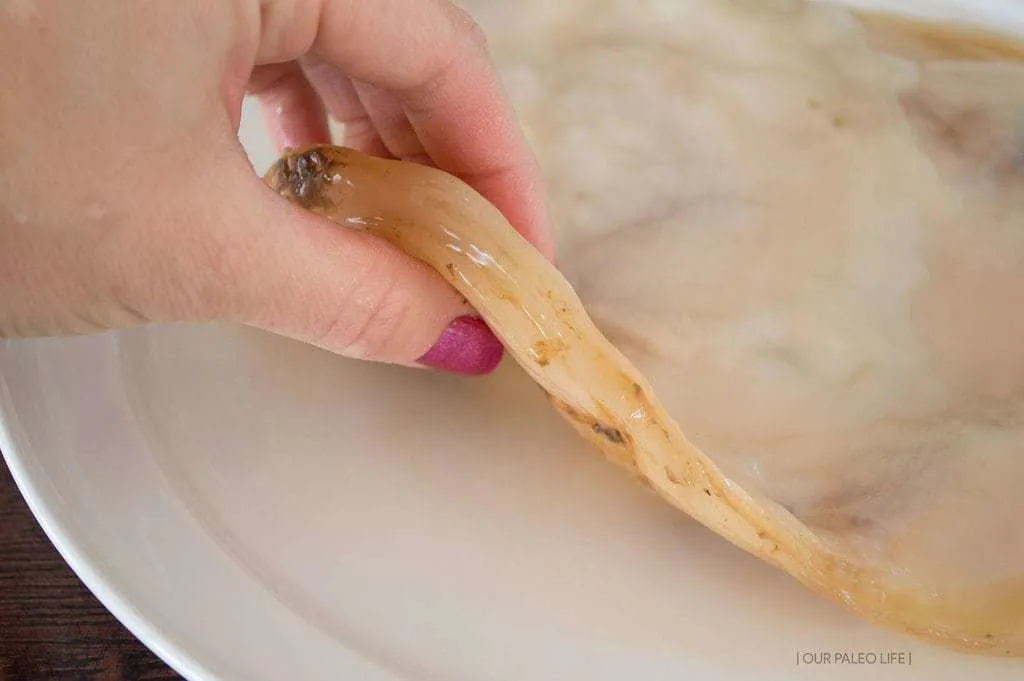
- After you’ve been brewing a while, your SCOBY will get pretty big. It grows a new layer with each batch. Peeling off layers and keeping them in a “SCOBY hotel” (a smaller crock with extra sweet tea to keep them from drying out, cover with a tight-weave fabric just like the brewing crock) is a good way to hang on to extras in case something causes yours to die, you want to expand your system, or you have a friend that would like to begin brewing their own.
- Get creative with your flavors. Fruits with low sugar content may need a boost with a teaspoon or two of sugar to help the second ferment get the kombucha bubbly enough. Adding sugar is not creating a sugary drink, it is aiding in the secondary fermenting process to create the carbonation.
- Citrus will kill the carbonation in the second ferment, so pair citrus with high-sugar fruits or add a teaspoon or two of sugar to aid in the carbonation of the secondary ferment.
- Kombucha ferments faster in warmer temperatures but try to keep it out of direct sunlight.
- If you notice a large layer of yeasty buildup in the bottom of the crock after a long time (I’m talking many months up to a year), you can remove the remaining tea after a bottling session and the SCOBY, and resanitize everything, removing the extra buildup in the process. It’s like spring cleaning.
- SCOBYs don’t last forever. When it starts to get big (think a couple inches), peel off the top layer and either throw it in the SCOBY hotel, or repurpose it. There are a few ideas floating around on Pinterest (none of which I have tried yet), but I prefer to feed it to my chickens. They LOVE it and it’s such a great treat for them.
- If your SCOBY is on it’s last leg or has already died, here are some signs to look for:
- a change in texture (like turning leathery or gummy);
- mold, fuzzy/green/blue/white/red/etc but not the stingy brown stuff that’s normal on a SCOBY from the tannin in the tea (you will have to restart the entire system if you find mold, sanitizing everything);
- the SCOBY no longer floats back up to the top of the crock
And just for fun, if you’re curious like I was, here is the cost breakdown per bottle of homemade kombucha. This does not take into account the cost of the startup supplies, including bottles, because they are reusable for many, many years.
This is only the cost of ingredients for the plain, unflavored kombucha (since the various fruits/flavors are variable costs).
- Gunpowder Green Tea: $16 (approx 90 Tbsp) = $0.17/gallon
- Black Tea: $17 (approx 90 Tbsp) = $0.18/gallon
- Organic Cane Sugar: $24 (approx 23 cups) = $1.04/gallon
Total Cost: $2.08 for 1.5 gallons
1.5 gallons = 12 bottles of plain, unflavored kombucha = $0.17/bottle
SEVENTEEN CENTS! $0.17 for the actual kombucha. Just for fun, let’s round that up to $0.30 per bottle with flavor added, which I really don’t think it’s that much the majority of the time. If you drink a bottle a day for an entire year, that’s $109.50/year per person. Compare that to store-bought every day for a year: $1095 – $1825/year per person. Just in case you needed a little more convincing that this is absolutely worth it. Plus, it’s so satisfying knowing that you are in complete control of what you’re consuming.
Do you have any tips, advice, personal experiences, or questions about home brewing kombucha? Share them in the comments. I’d also love to hear some of your favorite flavor combinations.
Conni
Tuesday 29th of June 2021
Can you do a step-by-step video I don’t want to miss a step .Thank You
Kendra Benson
Wednesday 14th of July 2021
Hi Conni. There is actually a video at the bottom of the post that goes over every step. Please let me know if you have any questions after watching it and I'd be happy to help!
Kristin
Thursday 9th of April 2020
Do i HAVE to add sugar? I am allergic to sugar, not so bad that it cant be in the SCOBY, but can i just omit it from the 2nd fermentation?
Kendra Benson
Thursday 5th of November 2020
Sugar is necessary in the first ferment, but you can definitely leave it out in the second.
Mandy
Monday 16th of December 2019
Hi can I pour room temp tea onto continuous kambucha not take the scoby out ???
Nancy
Tuesday 12th of March 2019
Thank you for all your info I live in S.E. Alaska made some k and it turned out great... But I never kepted up with it it's been in a gallon jar for eight months now and is growing great..butthe tea is thinking out .. I've learned so much from your article...that I'm going to get it going again thanks
Kimberly
Thursday 27th of December 2018
Thanks for your great information! Even after straining out my fruit for the carbonation phase, I still get baby scoby's in my bottles. I don't want to drink them, but also don't want to strain the bottles again before going in the fridge as I'd kill the carbonation I just achieved. Any suggestions?
Kendra Benson
Thursday 27th of December 2018
Those baby SCOBY's are just fine and completely expected during the second ferment. Just leave them in there when you put the bottles in the fridge. If you don't want to drink it, sip carefully when you drink from the bottle, or strain it out right before you drink it so you still get the carbonation.