
It’s spring, which means everything is changing from brown to green! Or, in the case of Colorado this week, from brown to white. March is one of (if not THE) snowiest months here, and while we expected to get some snow, I don’t think we were really expecting to get as dumped on as we did. The funny thing is that it was over 70° the day before we got 14″ of wet, heavy, dense snow.

And with all that snow and up to 50mph winds, it was a no-brainer for the schools to shut down. So not only were we snowed in but the kids were home all day. Good thing I stocked up on chocolate on Tuesday night 😉


And also a good thing that I had a freezer full of chicken and ground bison. I always get more than I need so I have extras for those “just in case” times. I’m almost always craving Chinese takeout, because how could I not? It’s so good if you get the right stuff. But honestly, who knows what kind of ingredients you’re ingesting when you buy that stuff. So as much as my family loves that stuff, I had to find a better alternative for them.

After plenty of trial, error, tweaking, and many test batches, I came up with a recipe that everyone loved, that tasted great as leftovers, and that could be made in advance so we could just heat it up and eat it when we wanted. Because when you want takeout, you want it now, not an hour from now.
The nice thing about the sauce is that the heat can be adjusted in case you’ve got littles to feed that don’t tolerate spicy food well. OR you can make 2 batches of the sauce: one spicy and one not spicy. That would work really well in my house (I’m the not-spicy eater).
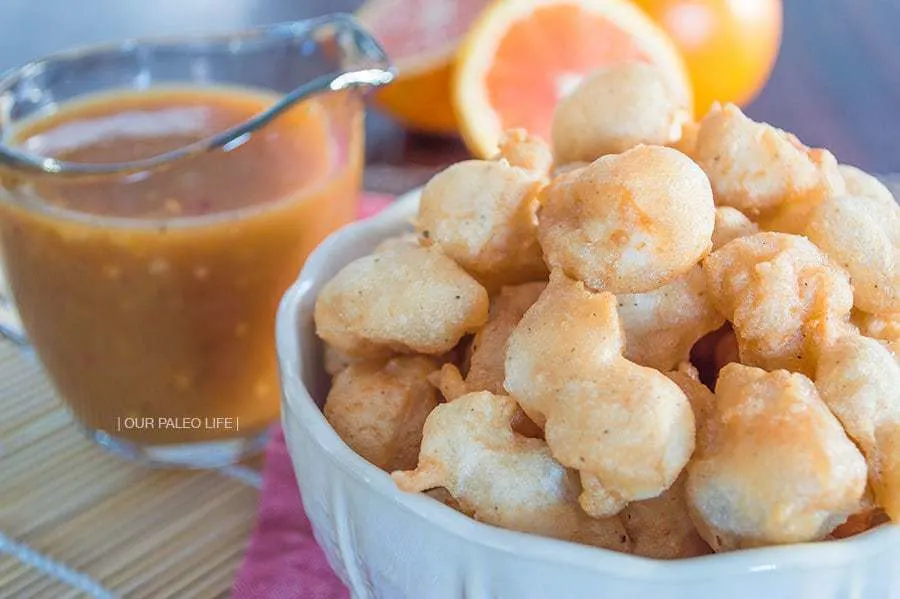
I’ve made this recipe 2 ways: pan-frying the chicken and deep-frying it. I absolutely 100% recommend the deep-fry method and here’s why:
- WAY less mess. Seriously. No splatters, no burned arms, no dripping spatulas.
- The breading stays ON the chicken and doesn’t stick the the pan.
- You can cook a much larger batch of nuggets at one time in the deep-fryer so you’re spending less time cooking and more time eating.

I really don’t like buying a lot of kitchen gadgets, I don’t have a ton of spare room in the cabinets for lots of extras, so I found the smallest deep-fryer that had great reviews. The 4-cup capacity FryDaddy was just right for us. Compact, but still fits enough food in it and no messy splatters! I use coconut oil for the frying, much better than any of the alternatives.

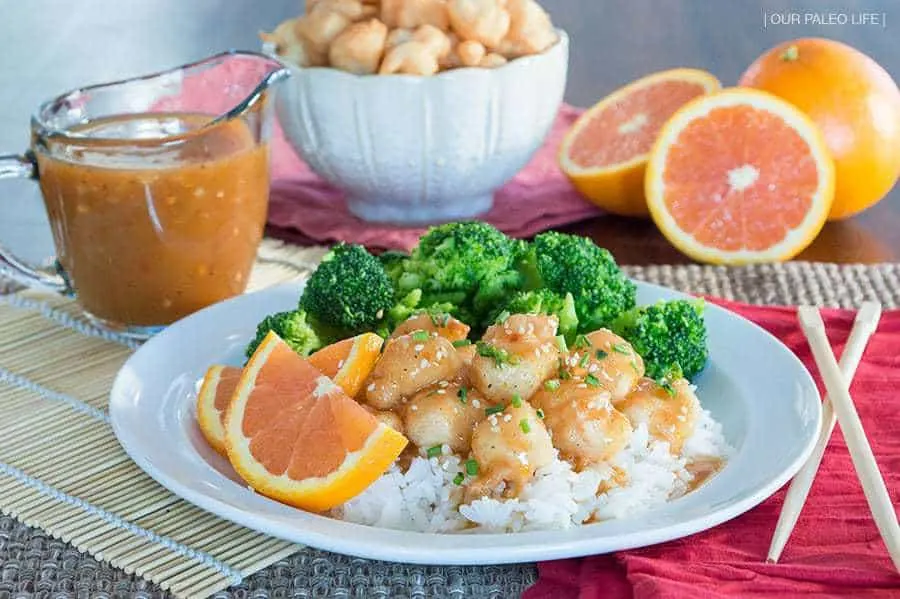
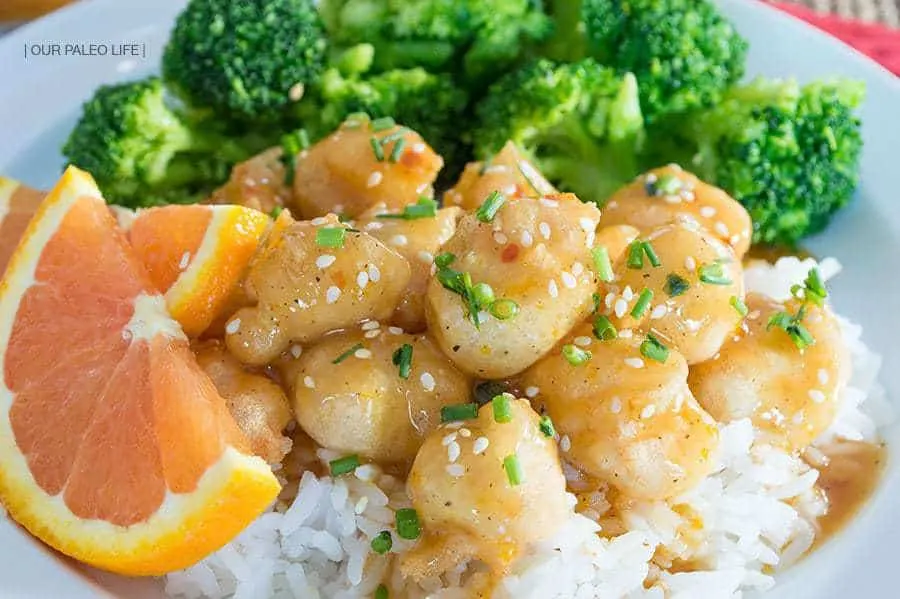
Takeout Orange Chicken {grain-free}
We love Chinese takeout, but it's basically impossible to find a place that doesn't use some bad ingredients. So we make it ourselves and not only does it lack grains, MSG, and some gross oils, it actually tastes better.
Ingredients
Sauce
- 3/4 cup Chicken Broth
- 1/2 cup Orange Juice, freshly squeezed, preferred, otherwise pure juice with nothing added
- 1/2 cup Honey
- 1/3 cup White Vinegar
- 1/4 cup Coconut Aminos
- 2 Cloves Garlic, minced
- Zest of 1 Orange
- 1/2 tsp Fresh Grated Ginger -or- 1/8 tsp Dried Ground Ginger
- 1/4 tsp Fresh Ground Black Pepper
- 1/4 tsp Crushed Red Pepper Flakes, more for spicier sauce, leave out for mild
- 1-1/2 Tbsp Tapioca or Arrowroot Starch
- 1-1/2 Tbsp Cold Water
Chicken
- 1-1/2 lbs Boneless Skinless Chicken Breasts or Tenderloins, cut into bite-size pieces
- 1 cup Otto's Cassava Flour, lightly spooned and leveled
- 2 Tbsp Potato Starch
- 1 Tbsp Arrowroot or Tapioca Starch
- 1/2 tsp Sea Salt
- 1/4 tsp Ground Black Pepper
- 1 Tbsp Avocado or Olive Oil
- 1 Egg
- 1 cup Water
- Coconut Oil, quantity depends on method of frying, for frying
Optional Garnishments
- Toasted Sesame Seeds
- Chives, chopped
- Crushed Red Pepper Flakes
Instructions
Sauce
- Combine the 1-1/2 Tbsp water and 1-1/2 Tbsp Tapioca/Arrowroot starch until starch is dissolved. Set aside.
- Combine all Sauce ingredients (except water and tapioca/arrowroot) in a medium saucepan over medium-high heat and whisk to combine. Bring to a boil and let gently boil until reduced by about half. The reduction is important, don't skip this step.
- Remove from heat and stir in the water/starch mixture. Stir to combine. Sauce will thicken as it stands. Set aside until chicken is ready.
Chicken
- While the sauce is cooking, cook the chicken.
- In a large bowl, combine cassava flour, potato starch, arrowroot starch, salt, pepper, oil, and egg. Add about 3/4 of the water and stir to fully mix the batter until smooth. It should be thick enough to coat the chicken, not thin and runny. If it's too thick, add a little more water until you reach the right consistency.
- Add the chicken pieces to the batter in the bowl and stir to coat all the pieces.
- Deep-frying it the preferred method of cooking the chicken, but you can also cook them in a skillet. Skillet frying will be much messier (the oil will splatter) and some of the breading/batter will come off the chicken and stick to the pan.
- To Deep-Fry (we use a FryDaddy): heat enough oil to keep the chicken from resting on the bottom. That is 4 cups for this particular fryer. When oil is hot, add the chicken pieces one at a time to keep them from sticking together. Cook until the are browned (not too dark) and no longer pink inside, about 4-5 minutes per batch. Remove chicken with a slotted spoon and drain on paper towels. Continue until all chicken is cooked.
- To fry in a skillet: Heat 1" of coconut oil over medium-high heat (about 360°F if you want to be precise). Add the coated chicken pieces, one at a time to keep them from sticking, and cook in small batches, making sure not to overcrowd the skillet. Cook about 4-5 minutes, turning turning once, until golden brown. Remove chicken from oil and drain on paper towels. Continue until all chicken is cooked.
Serving Suggestions
- Serving Option 1 (preferred): Serve the chicken and sauce separately, pouring the sauce over the chicken on each individual plate. This is best if you make a large batch and plan on having leftovers, as the chicken will reheat in the toaster oven nice and crispy and not get soppy from the sauce.
- Serving Option 2: Combine sauce and chicken and toss to coat all chicken pieces evenly. This method works great if you plan on eating it all and not having leftovers. But we always make a big batch and have leftovers so we use Serving Option 1.
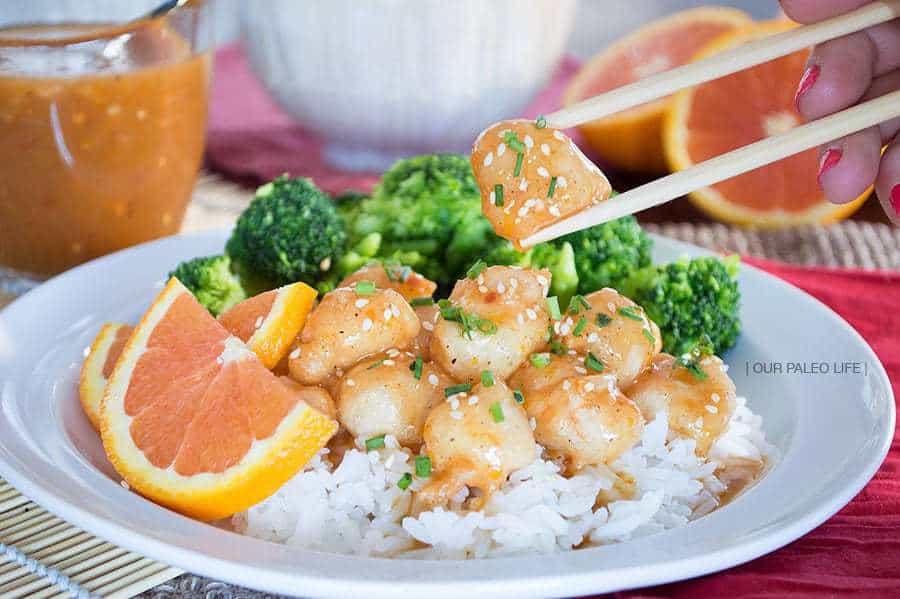
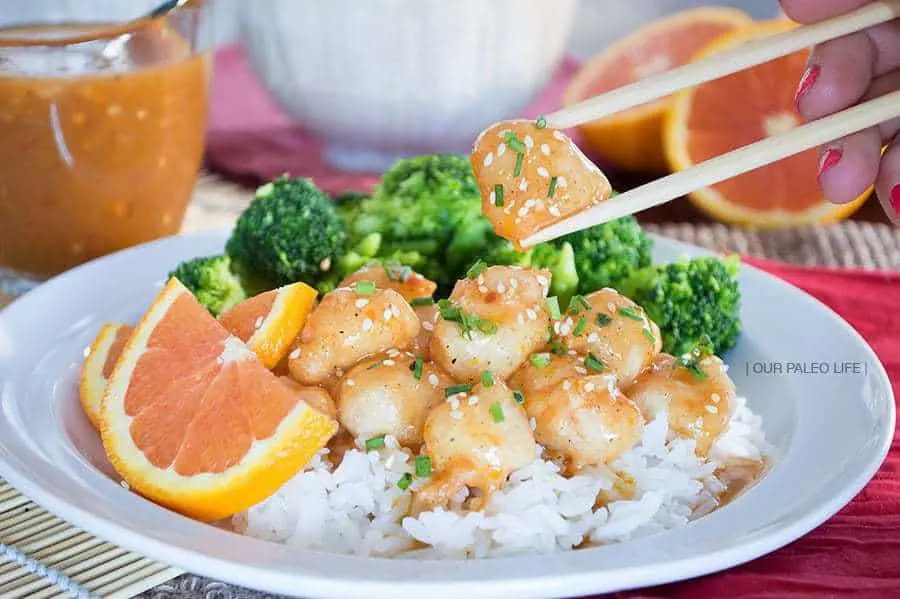
- Serve over cauliflower rice (or real rice if your a rebel like me) with a side of some bright-colored veggies (broccoli is a kid-favorite around here). Garnish with sesame seeds, chives, and/or red pepper flakes, if desired.
Make-Ahead Directions
- Make sauce and chicken as directed. Store separately in air-tight containers. Chicken can be refrigerated up to 1 week in the fridge and up to 6 months in the freezer. Sauce can be stored up to 1 week in the fridge.
- To reheat (from frozen): Preheat oven to 425°F, place on a parchment- or foil-lined baking sheet, and bake for 12-14 minutes, flipping halfway through.
- To reheat (from thawed): Preheat oven to 400°F, place on a parchment- or foil-lined baking sheet, and bake for 8-10 minutes, flipping halfway through.
- To reheat the sauce, microwave on high for about 1 minute and stir to combine (it might separate a little), or heat in a saucepan over medium heat until not quite boiling. Whisk to combine (it can separate) and to keep smooth.
- Serve as directed above.
Angie Syacsure
Monday 4th of November 2019
Wow ? Take Out Orange Chicken was amazing. I made two substitutions 1) couldn’t find cassava flour locally so I used almond flour 2) I didn’t have orange juice so I added orange essential oil to water. Oh man this was so good my family has already asked for this to be a regular on our menu.